CurtPalme.com Home Theater sales, calibration, service, and discussion forum. Hundreds of free manuals & setup tips.


Sign up and receive the latest newsletters by email!     Join the Forum discussions!    
    Site Map  
Home Products
For Sale
Referral
List
Photo
Gallery
Links Contact
Us
CRT Primer
Troubleshooting Tips
Mounting Methods
Definitive CRT
Projector Setup Guide
Tube/Raster Setup
Tube Condition (Wear)
Projector
Specifications
Projector Rankings
Video Processors
Ampro 1500/2000
Ampro 2300/2600
Ampro 3600/4600
Barco (Older Analog)
Barco 70x/Cine7  
Barco 500/800/801
Barco 808/Cine8
Barco 120x/Cine9
Dwin 500/700
Electrohome ECP 
Electrohome Marquee 
Mitsubishi
NEC PG
NEC XG
Panasonic 108x
Runco
Seleco
Sony 10xx
Sony 125x/127x
Sony 1292
Sony D50
Sony G70
Sony G90
Zenith 841/851
Zenith 895/900
Zenith 1200

Sony G70 (LC) Tube Swap

 (Page 8)

Back to Advanced Procedures Index

Page:
1 2 3 4 5 6 7 8 9 10


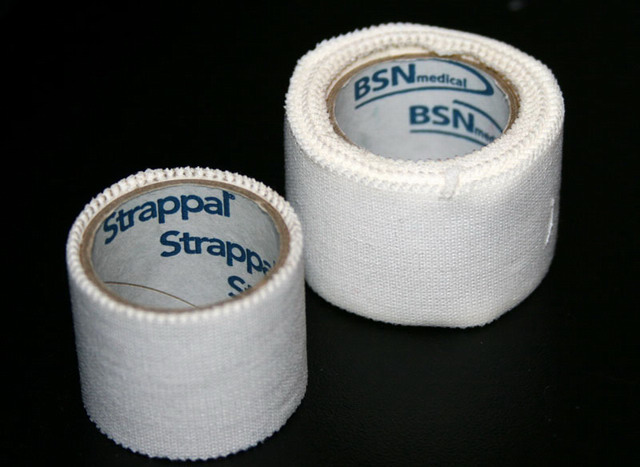
21. Buy special (medical) adhesive tissue tape:


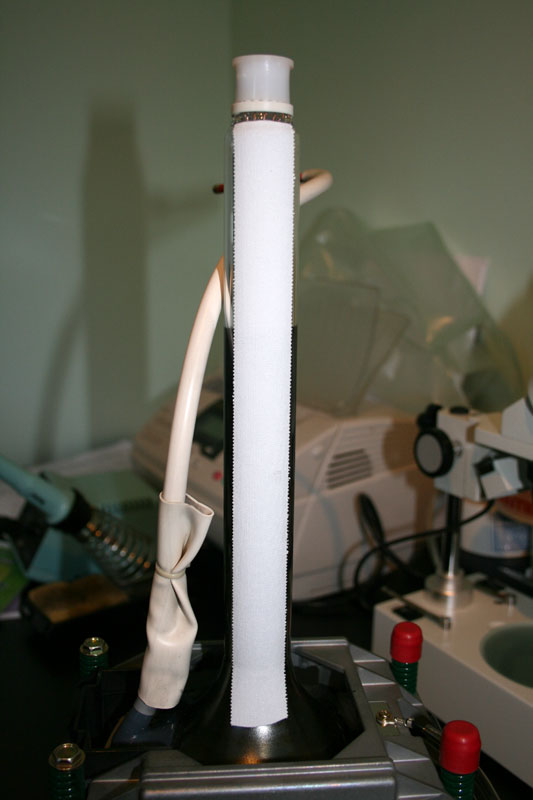
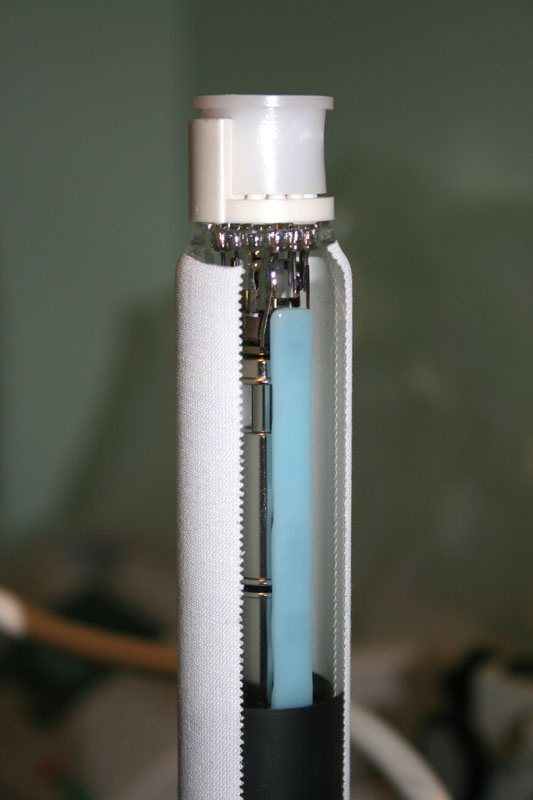
22. Place two stripes of this (medical) adhesive tissue tape on the tube neck:


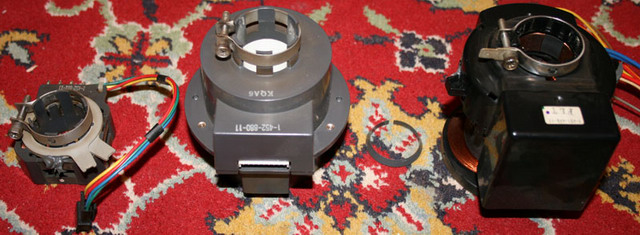
23. Now get the DY/Sub DY/MG/2P/4P coils together with the small plastic wedge that you placed aside previously:


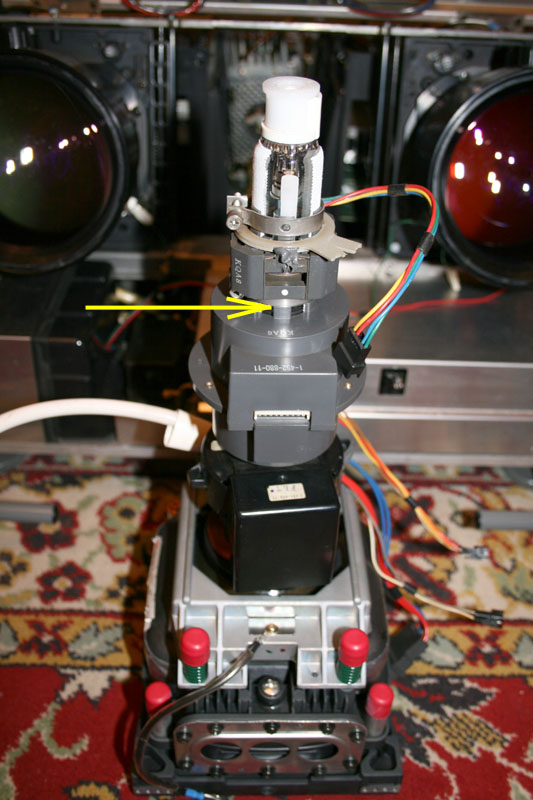
24. Put back in place the DY/Sub DY coil and press it against the tube before screwing its circular neck screw. Then place the plastic wedge in the proper orientation:


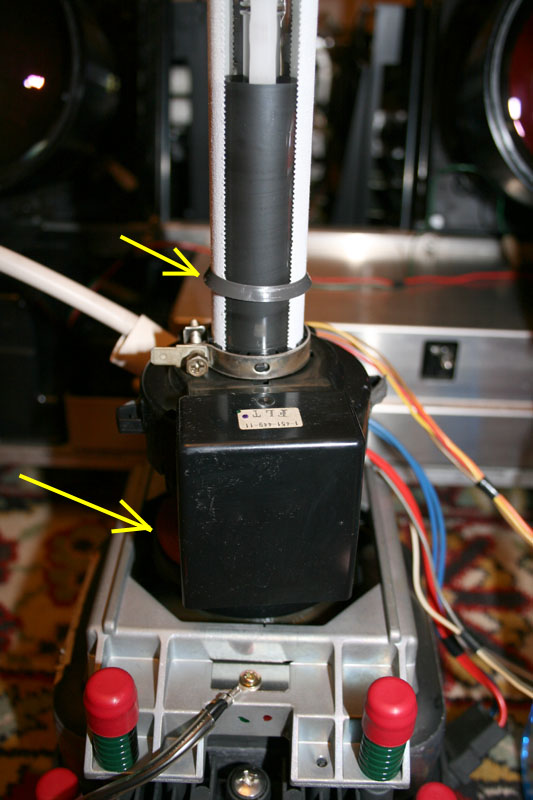
25. Put back in place the MG focus coil and press it against the DY coil neck before screwing its circular neck screw.


26. Put back in place the 2P/4P coil and place it 6-8mm away from the MG coil neck before screwing its circular neck screw.


Warning : Do not over tighten the neckl screws against the tube neck or the glass may brake! Refer to the Sony service manual section 3 page 3 (tightening torque force is 80 to 120N.Cm (8.16 to 12.24kgF.Cm)).
 

Previous Page ...

Next Page ...


© Copyright CurtPalme.com. All Rights Reserved.