3.e Use a sharp razorblade and carefully cut around the perimeter of the high
voltage wire boot. Undercut the black silicone and try to always cut near the
glass surface. Continue cutting until all the silicone is cut loose from the
glass tube all the way around the perimeter. (Picture 3.e)
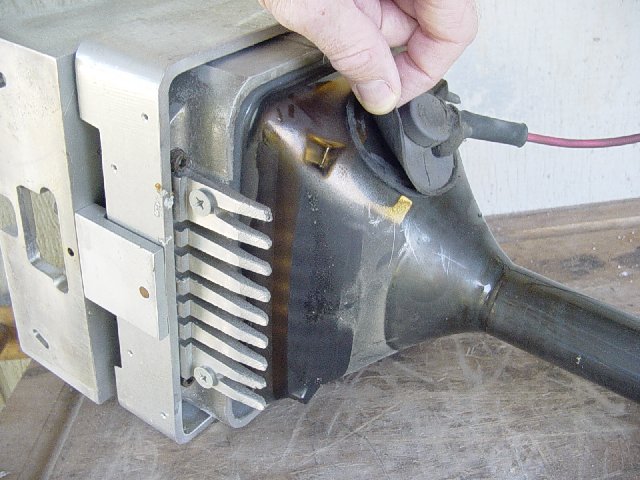
Picture 3.e.
3.e.1 Use some pliers and squeeze the top of the cap to remove it. Squeeze
perpendicular (90 degrees) to the wire (Picture 3.e.1). Squeeze the cap,
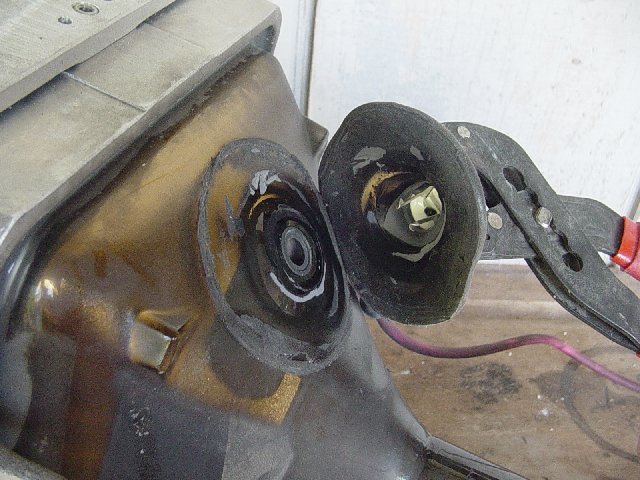
maintain pressure, and remove. (Picture 3.e.2) You might have to fight the
little metal clips some (Picture 3.e.3), and a little bit of silicone that you
missed.
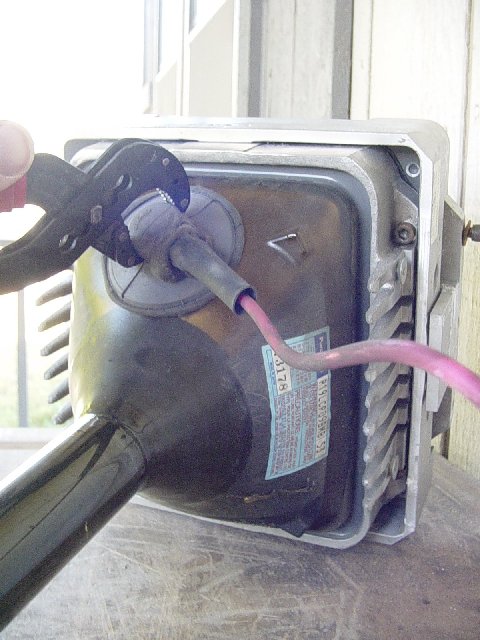
Picture 3.e.1.
Picture 3.e.2.

Picture 3.e.3.
3.f This completes all the tube electronics removal. (Picture 3.f)
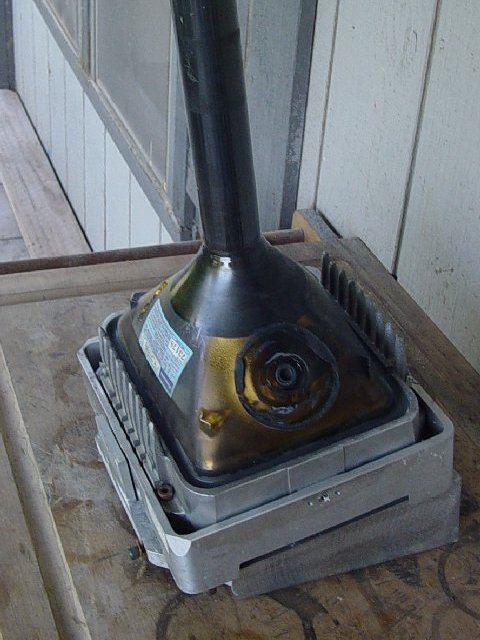
Picture 3.f.
4. Staking your pins:
4.a This is a good time to stake your housing pins. Tim mentions this on his
website (http://www.etechvideo.com/techtip7.htm), and now is a convenient time
to do it.
4.b The housing pins can work out easily (Picture 4.b.1), so tap the pins back
in flush (Picture 4.b.2) and then use a hammer punch and stake the housing. The
idea is to create a dimple near the pin edge. The dimple helps hold the pin in
place. (Picture 4.b.3)
Picture 4.b.1.

Picture 4.b.2.
Picture 4.b.3.
5. Draining the Glycol:
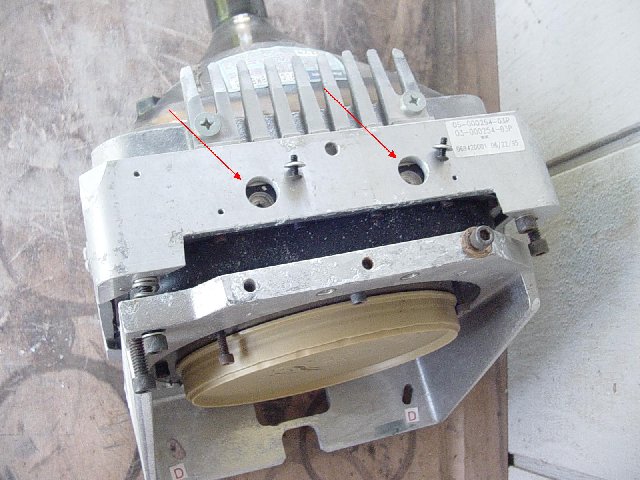
5.a Remove the upper and lower pivot plates. (Picture 5.a) This is done to help
relieve the compressive pressure that the rubber bellows is under (and hence
glycol under pressure). If the plates are not removed, there is a possibility
that some of the glycol will shoot out of the fill screws in step 5.b.
Picture 5.a.
5.b Remove both glycol fill screws. (Picture 5.b)
Picture 5.b.

|

