5.c Get a large clean container to collect your glycol. (Picture 5.c) I used
a clean spaghetti sauce jar (approx 24oz) per tube.
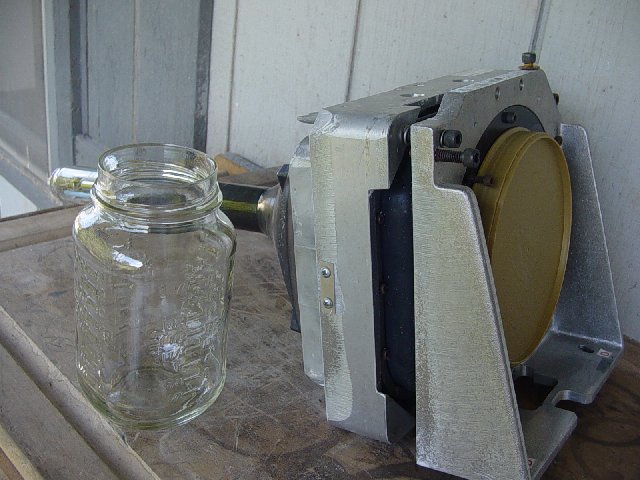
Picture 5.c.
5.d Drain the glycol out of the fill screws into the container. (Picture 5.d)
Note: In my picture, my glycol is slightly cloudy due to contamination. Cloudy
glycol should be replaced with new glycol. If your glycol is clear, then it can
be reused.
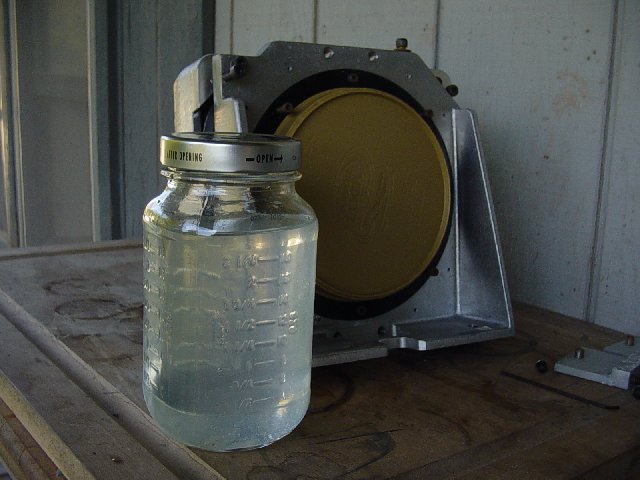
Picture 5.d.
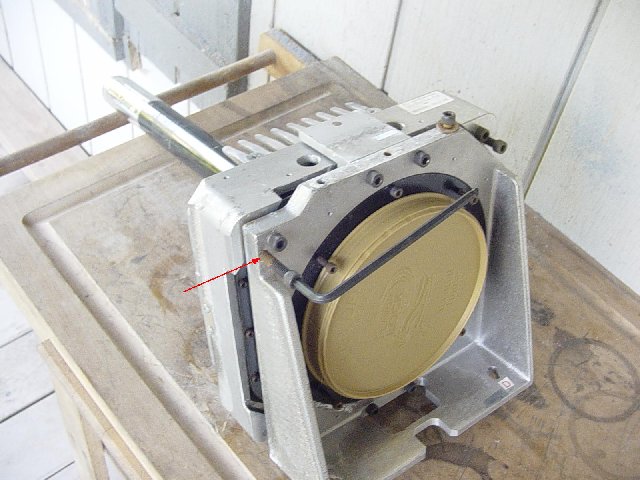
5.e Reinstall the upper and lower pivot plates. (Picture 5.e)
Picture 5.e.
6. Removing the (mounting) silicone:
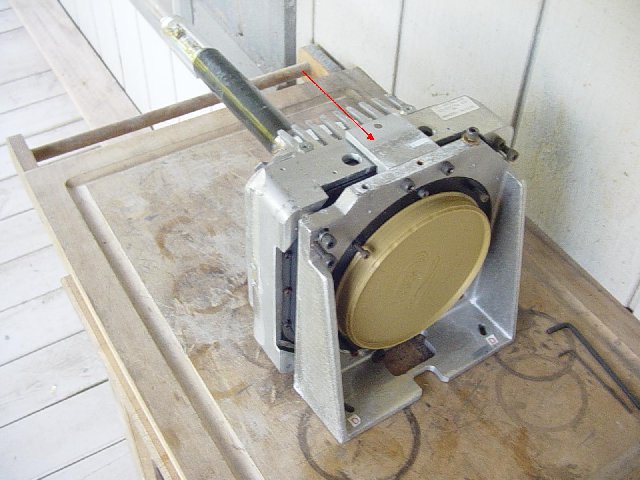
6.a Remove upper left corner screw. (Picture 6.a) This is to help allow the tube
to lay flat in the next step.
Picture 6.a.
6.b Lay the tube face-down on your work table. (Picture 6.b)

Picture 6.b.
6.c Get a Dremel hand tool, a 1/8” drill bit, a thin section of metal (like a
small metal ruler), and some safety glasses. (Picture 6.c)
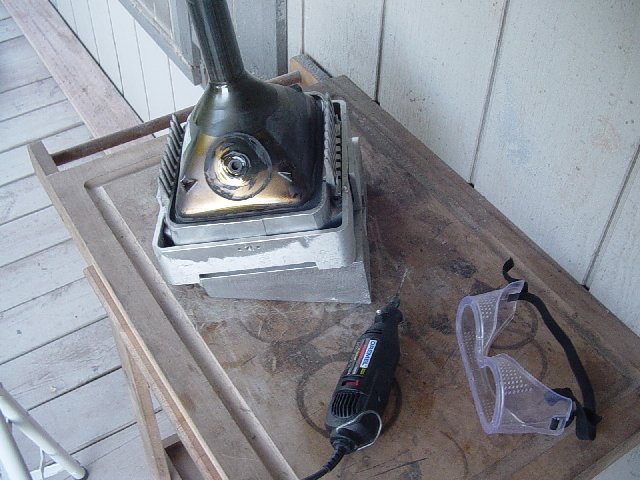
Picture 6.c.
6.d Mount the drill bit into the Dremel with 1 ¾” to 2” extending from the
Dremel mounting chuck. (Picture 6.d) I preferred the drill bit mounted at 2.0”.
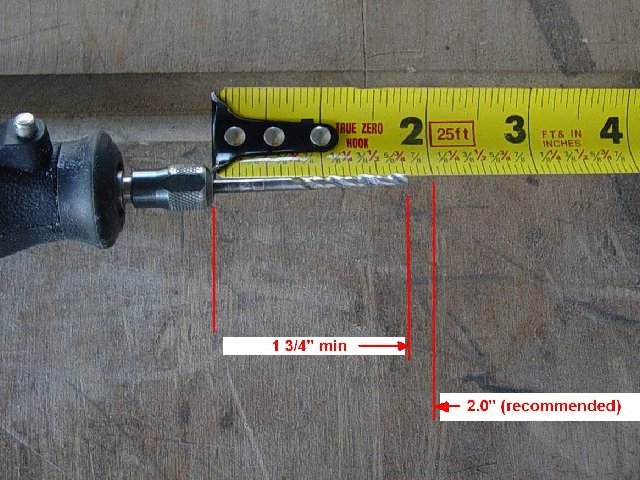
Picture 6.d.
6.e Use the Dremel to drill out the silicone that’s holding the tube in
place. (Picture 6.e.1) Occasionally stop and use the thin section of metal to
help pry out the larger chunks of silicone. (Picture 6.e.2) This task will get
very dirty, very quick, so it’s best done outside.
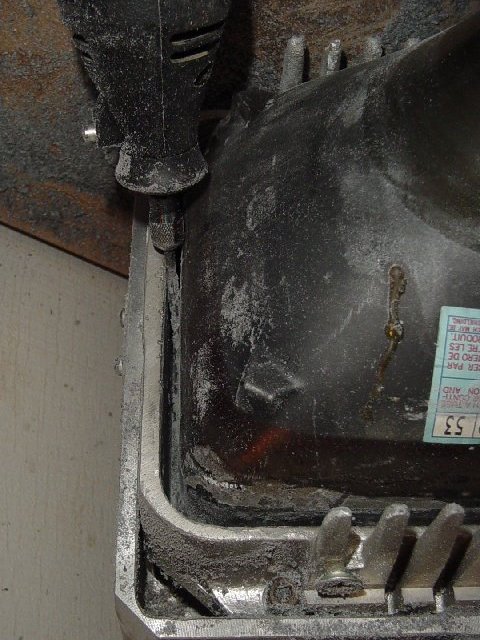
Picture 6.e.1.
Picture 6.e.2.
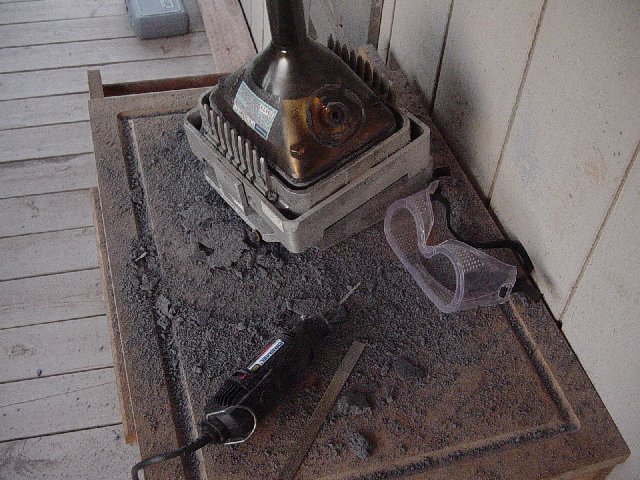
6.f Keep working out the silicone until all the silicone is removed
completely around the perimeter of the tube. (Picture 6.f) On my third try
(third tube), it only took me about 30 minutes to remove all the silicone and
remove the tube.

Picture 6.f.

|

