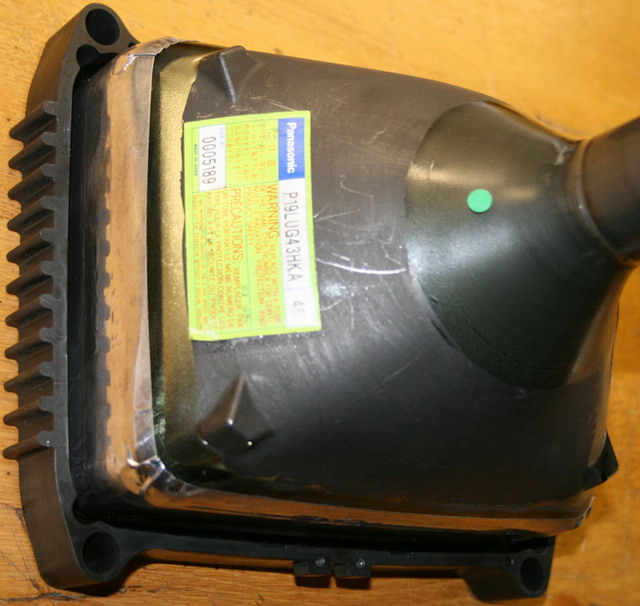
23- Now it's time to retrieve the new P19 bare tube close to the bench:
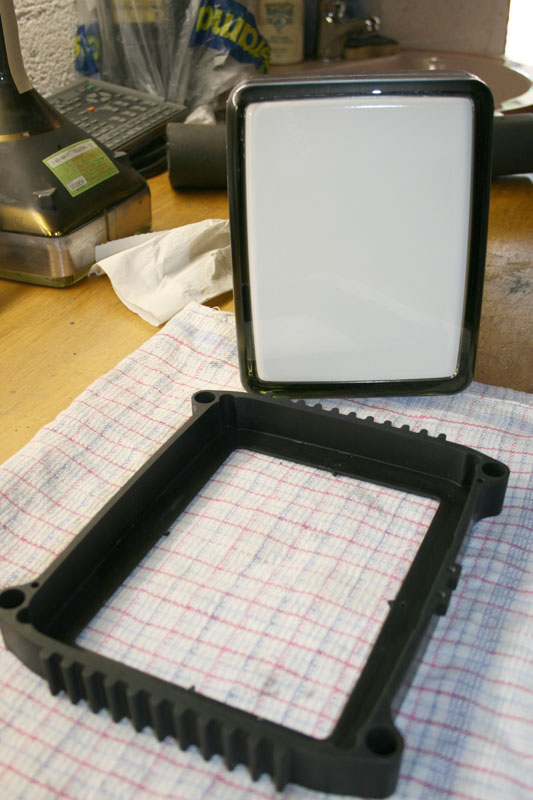
If the new bare tube is missing the Lead X-ray thick belt
tape around it, recover it from the older tube.
Before starting the next operation, take care to place it in the correct
orientation versus the cleaned aluminium belt/holder so the HV cup entry will be
located on the right border of the LC assembly :
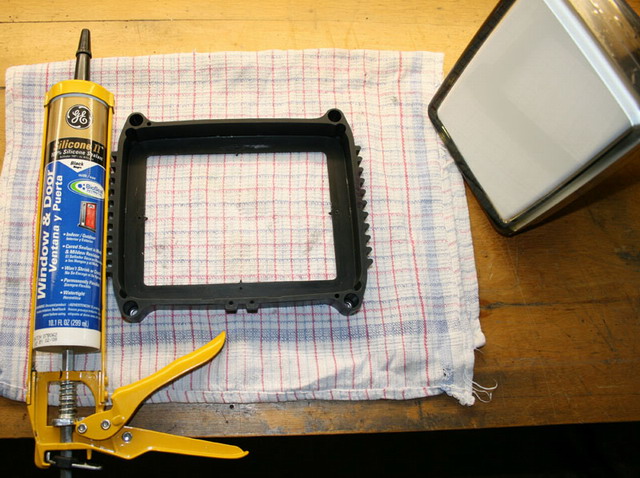
24- Now prepare the Silicon Cartridge (from GE for example) with the proper
tool:
25- Place the four steel pits pieces back in place inside the relevant four
holes :
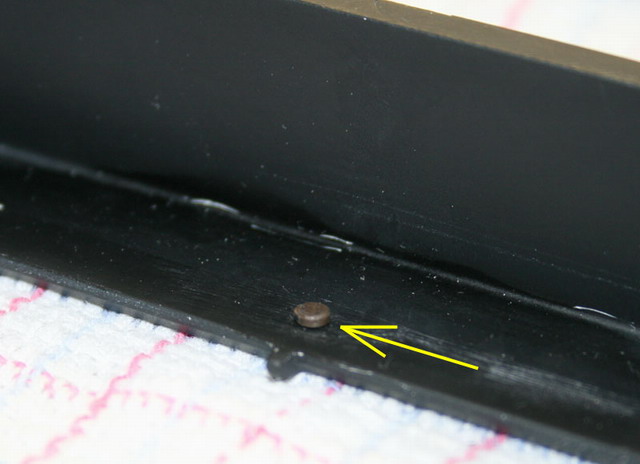
26- slowly put a CONTINUOUS fresh silicon paste all around the aluminium tube
belt/holder piece (better more than less enough!) :
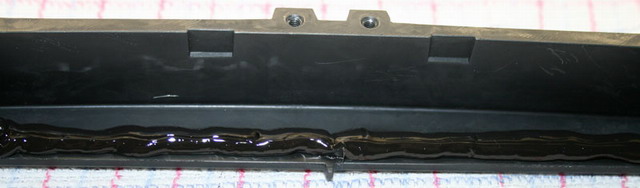
Especially in the corners :
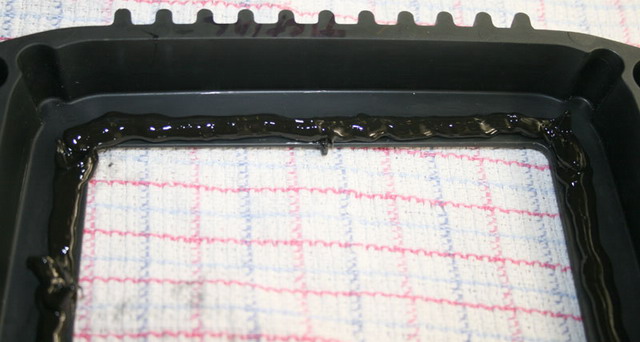
Beware to NOT remove the four steel pits from their location during this Silicon
deposit !
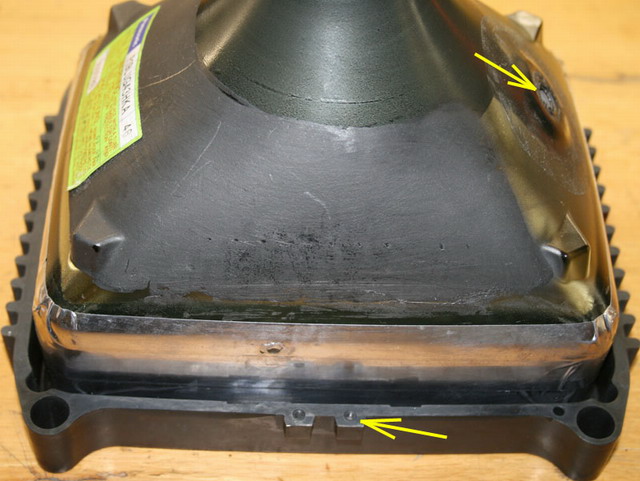
27- After checking that silicon deposit is OK all around the tube, place the
bare tube within the aluminium tube belt/holder piece and press it so the tube
face will be stopped by the four steel pits :
IMPORTANT : Check that the tube is well centered within the aluminium piece and
is not rotated versus its borders.
Do not move the assembly and leave it that way in dry place for one day first.

|
