The following procedure and pictures were provided by
forum member JohnHWman. John is an avid home theater enthusiast. Thanks for the procedure John!
Here we are today with a new G90 step by step procedure:
Replacing burnt/toasted tube(s) with new bare tube(s).
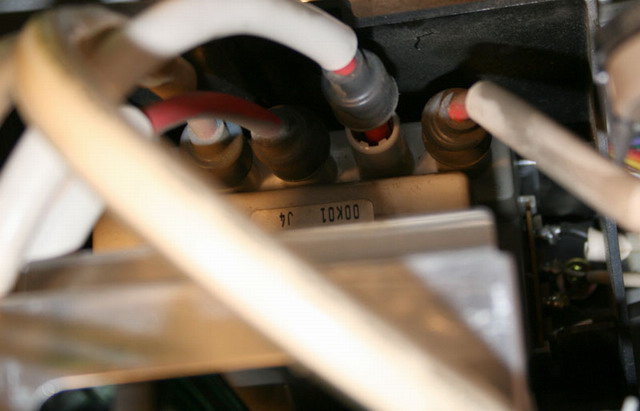
Original Sony stock tubes refs are P19LQF type. New bare tubes are usually
P19LUG type (normal or 'HR' type) but this could be P19LPB reference (used on
Barco PJs) as well.
You can order P19LUG-HR bare tubes from Greg Eisemann and P19LUG from VDC or
from tubularoutlet.com vendors. Greg's sells 'HR' rated P19LUG tubes about
$1200, VDC wants $1600 and Tubularoutlet about $990.
Since I made this job twice on my G90 units, I've took some pictures of the task
process and post them in here to share this information with everyone. Be aware
that this procedure is much more complex than the one I've posted about G70
projector two years ago. You need to have serious handy skills to proceed this
successfully... Also, you will need to be patient (there is 50 steps to
follow!).
First part is to remove the old (toasty) tube and its LC housing from the G90
unit :
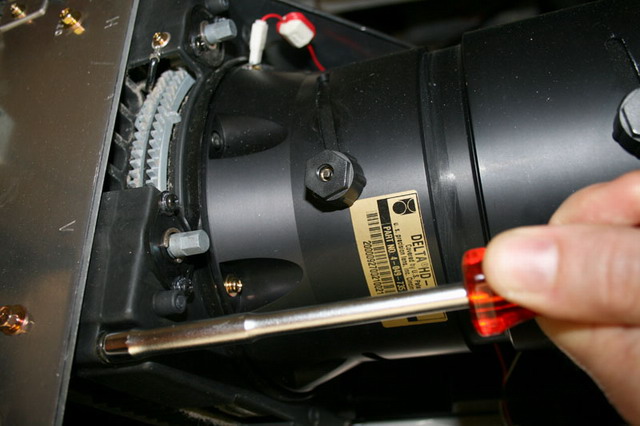
1- Remove the unit dark grey top cover. Unscrew the four mounting screws of the
LC housing with proper tubular key :
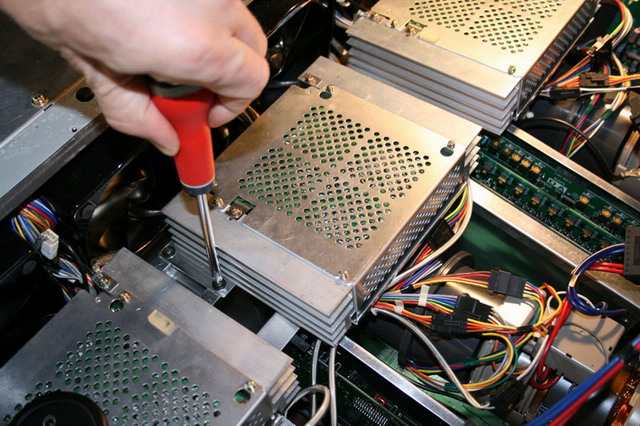
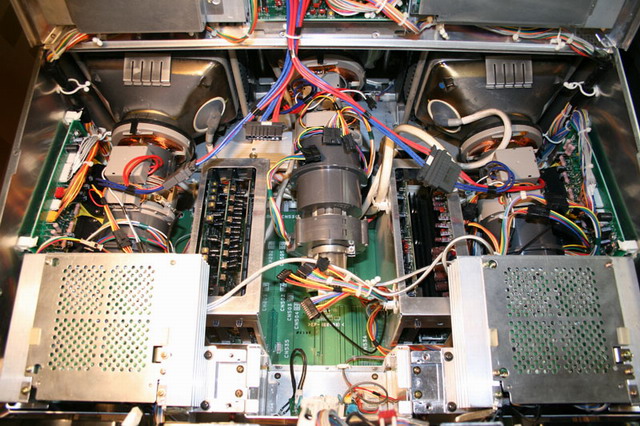
2- Open the G90 chassis top cover and unscrew the four relevant CG block screws
from chassis :
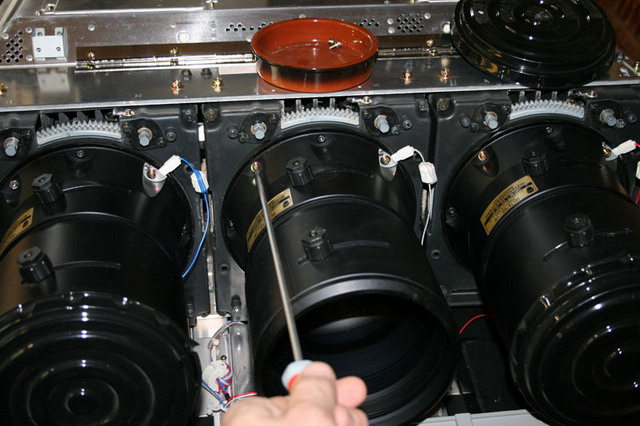
3- Twist CG block upside down on back of the unit - remove white and red flat
pairs - disassemble the original tube's C board at the tube ends neck by
twisting the board to the right/left alternately to unplug it completely :
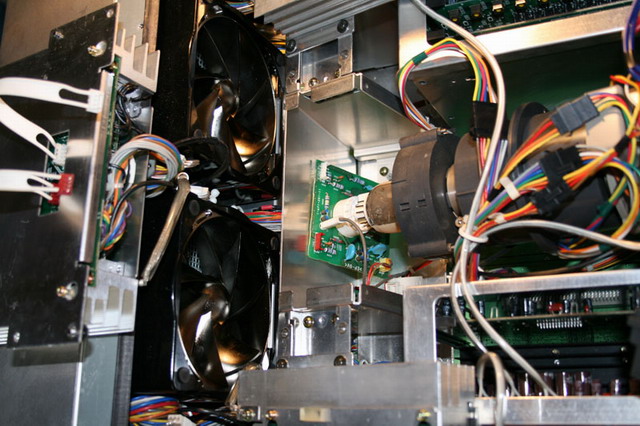
4- Disconnect al the coil's incoming wires connectors, including DY earthing
lead :
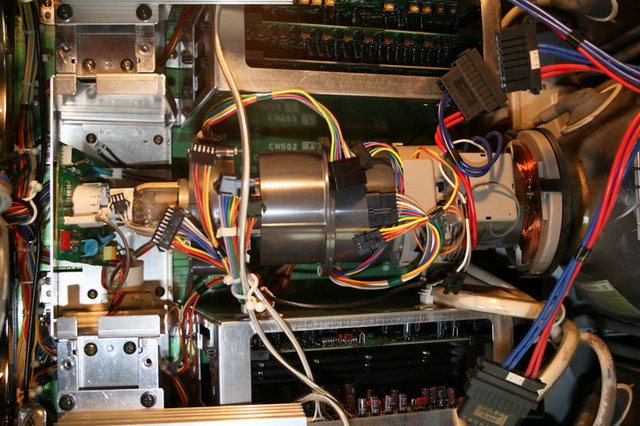
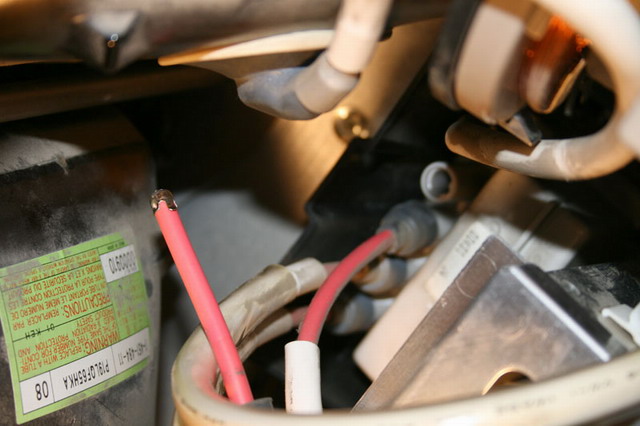
5- Locate and disconnect the tube's relevant HV lead rubber cap from the HV
splitter block located between green and blue tubes. :
6- first remove the silicon grey cap from the block and then press down and 90°
rotate the thick red wire to remove it :
7- Now, disassemble the relevant lens from the LC housing using a 300mm long
neck Philips screwdriver. Unscrew the four lens screws from bottom to top. Take
care to hold the lens with left hand while removing the last screw and gently
remove the lens away along the same tube center axis to avoid lens damage from
the C-element's sharp circular edges ! Place it in a clean from dust area (bag):
8- Carefully slide out the complete assembly with one hand on the LC housing and
the other on the tube neck end. Ensure that you do not stress any
wires/connectors/coils during the operation :

|

