9- Place the assembly facing down on a flat and clean bench as
follows :
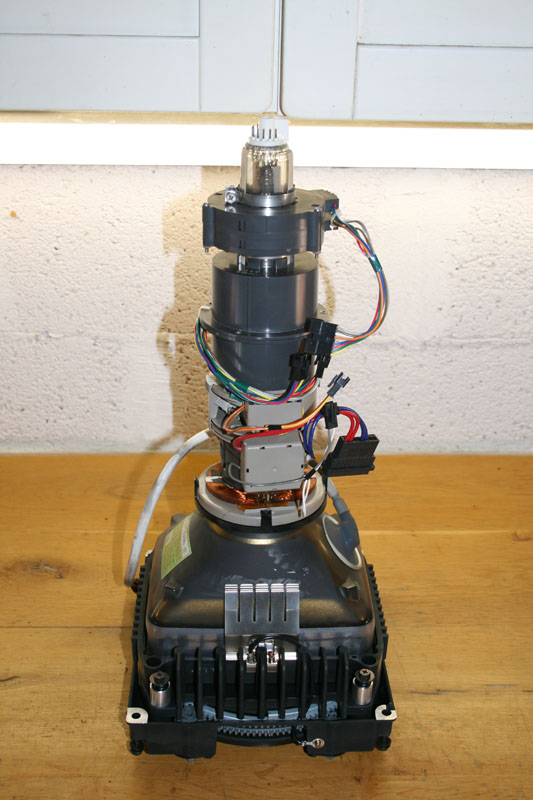
10- Unscrew all DY/Sub-DY/MG and 2p/4P coils assemblies screws
around the tube neck and store them in the same order/orientation in a safe area
(don't forget to carefully remove the plastic wedge located between Sub-DY and
MG coils).
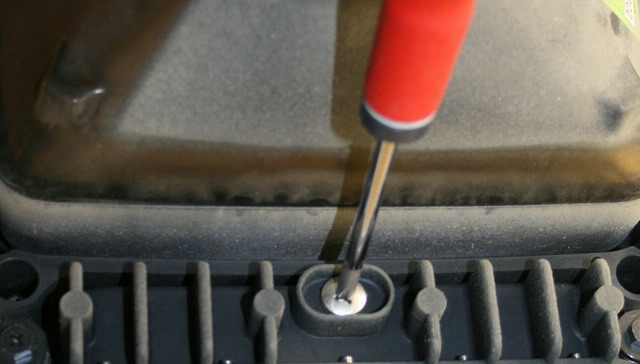
11- Remove glycol tank screw :
12- Place a CLEAN and DRY 250ml glass above the Glycol hole access this way :
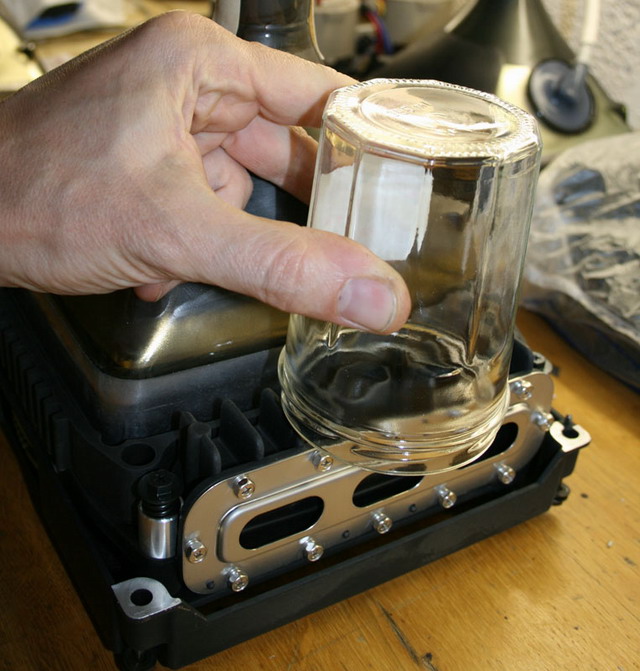
With a fast (but safe) movement, turn the assembly upside-down while holding the
glass in the same position above the glycol chamber hole. Then press the glycol
chamber rubber expansion part with one finger to force the glycol to fall out
from the hole inside the glass :
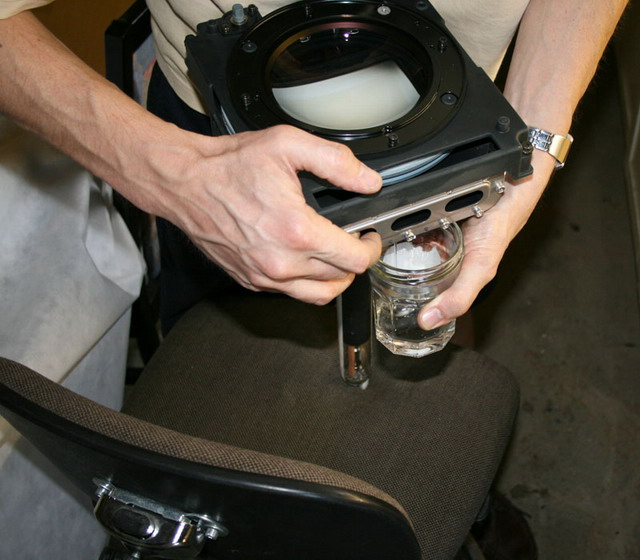
Stop the process when the glass is close to be fulfilled by simply restoring the
assembly initial orientation on the bench. Replace the glycol tank's screw back
in place and close the glass full of glycol with a cup to avoid dust entry and
store it in a safe area too.
At this stage, you must check that the retrieved
glycol aspect is fully transparent. If it's not the case, then all the glycol
contained inside the LC chamber must be replaced with new glycol.
Also, be very careful to not spill any glycol as it is very corrosive to just
about everything (including human skin!). The use medical gloves is a must.
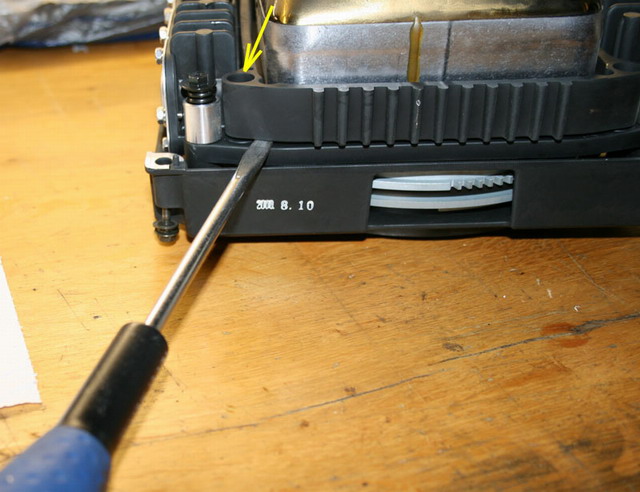
13- After had removed all the four screws located by the yellow arrow, use a
large flat screwdriver to tilt-up the tube and its aluminium belt/holder away
from the rest of the LC chamber :
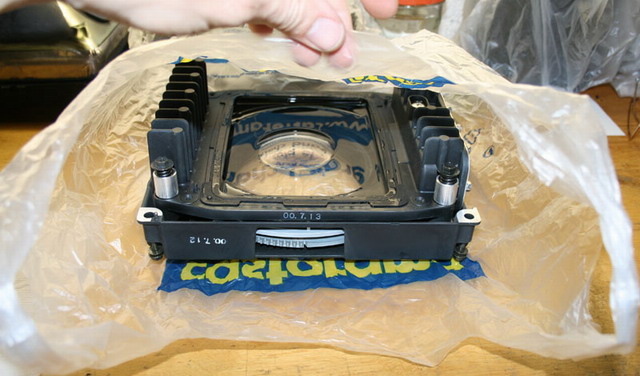
14- After separation of the tube and its aluminium belt/holder from the rest of
the LC chamber, store this last part within a clean and hole free plastic bag
(beware of the glycol movements within the chamber during transportation!) :
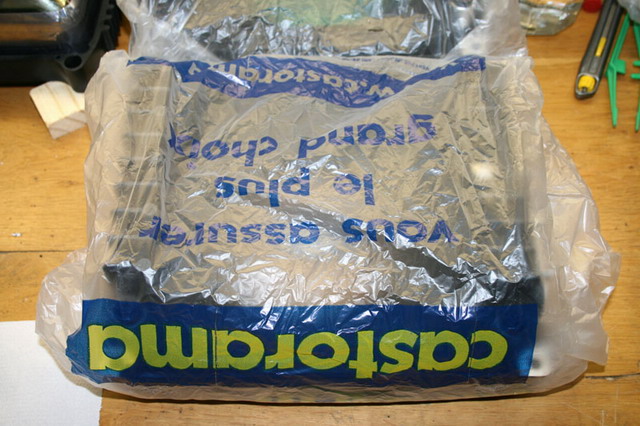
Close the bag this way so no dust can enter it:

|

