 |
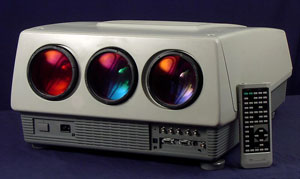 NEC PG Series NEC PG Series
Mechanical Setup Procedure
|
(Page 6)
|
Page: 1 2
3 4
5 6
7 8 |
LEVEL & SQUARE
Ok, now for the fun part. Turn on the projector again and let it warm up.
Put up the crosshair
pattern and look how things line up. Now remember that the green is the
reference for the red and
blue, so it must be done first and correctly. Make sure that the projector is
level and square to the
screen. Mark the dead center of the green crosshair on the screen. I'd suggest
running a string
across the screen horizontally and vertically to make a cross. TIP: A black
thread with tape on the
ends works well for this. Make sure the string is LEVEL and that its center is
perfectly aligned with
the projectors crosshair pattern. Proper alignment here is critical.
At this point, the center of your crosshair may not be in the center of your
screen. This is OK,
really. Put the string where the crosshair falls. It is for adjustment reference
only. Once everything
is done, THEN you can reposition the projector itself to center the crosshairs
with the screen. OK?
TIP: If the green horizontal line is not level with the screen and the
horizontal thread then loosen
the big wingnut at the back of the yoke and gently twist it until it's level.
Tighten the wingnut
VERY GENTLY until the yoke just does not move. Too much pressure can break the
tube!
CAREFUL!
Don't worry about the vertical lines for now. But we do want the horizontal
string and crosshair to
be perfectly centered on each other and level.
FOCUS POT TEST
Use the lens focus to dial in the green focus as tight as possible. Turn off the
red and blue tubes.
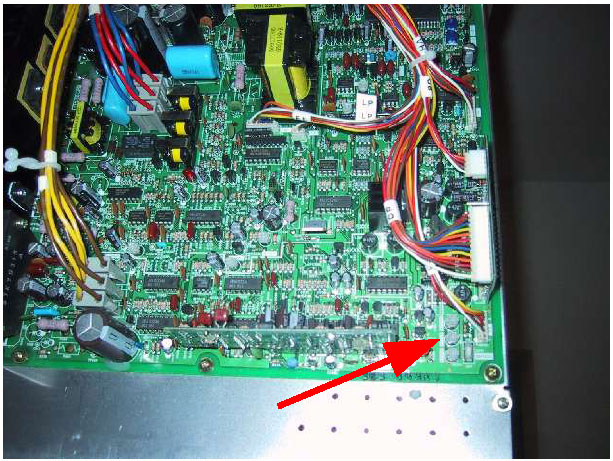
Once that is done, locate the 3 pots on the rear corner of the deflection board
opposite the heatsink.
Right next to them is the blue DEFOCUS switch. Turn this off. The center pot is
the GREEN
focus. Turn it back and forth while watching the screen. You are looking for 2
things: A) Focus, B)
Movement. If the crosshair patterns moves in any direction while turning the
focus back and forth,
the astigmatism (astig) magnets have to be adjusted. The problem here is that
the astigmatism and
raster centering magnets interact, so that's why you put the strings up to keep
a center reference.
When you move the focus pot the crosshair line will blur. If it blurs unevenly
to one side or the
other than you need to do the astig adjustment. When you make an adjustment to
the astig magnets
that will move the test pattern around so that it is no longer aligned with your
string. That's why you
put up the string, to use a fixed reference point. So you can readjust the
pattern back to the string.
|
|
