Fig. 26 to Fig. 27 show the installation of the side panels (affectionately
called “wings”). These panels serve the purpose of hiding the ceiling mount
structure and the lugs of the hoisting system (See Fig. 1).

Figure 26

Figure 27
Fig. 28 shows the 4 fans being wired to be connected to the LV system of the
projector which is supplying energy to the original 80 mm fans. On the ECP there
is a small RC circuit before each fan that should serve the purpose of reducing
electrical noise. These circuits have been maintained by soldering the wires of
the new fans directly onto the board of the RC circuit of each fan. These
circuits have a socket which enables connections to the 4 plugs coming from the
LV power supply system of the projector.

Figure 28
Fig. 29 shows 2 of the 4 fans seen from outside (notice the polyurethane
insulating foam).
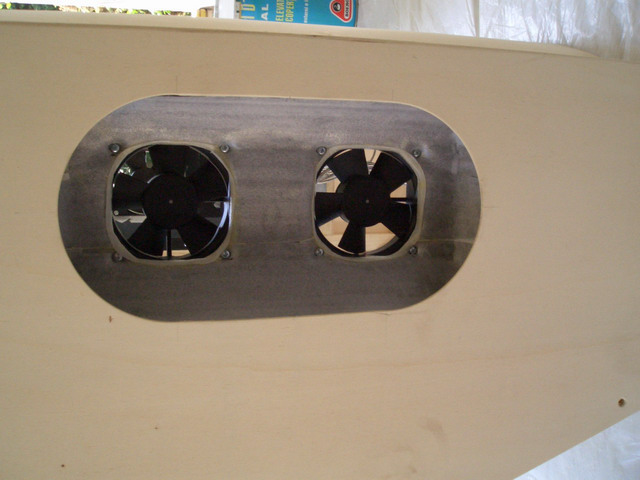
Figure 29

|

