Now let’s look at the differences between the stock HD8 and the HD144 lenses.
The problem with the swap is the HD144 lenses are quite a bit smaller than
the HD8 lenses. The barrel has a smaller radius but the main issue with the swap
is that the barrel juts deeper toward the tubes on the HD8s. Some mods simply
mount the HD144 and cut the springs allowing the plate to be adjusted closer to
the tube face. The problem with this is that the HD8s can no longer be used
without sourcing new springs.
OK, so. Here is what we are going to do. We will mount a plate at the rear of
the stock plate. The new plate will be the mounting point of the HD144 lenses.
It will be closer to the tube face by the thickness of the stock plate. The new
plate will have a opening to fit the HD144 and have the proper mounting holes.
The stock plate will have some notches cut out to accommodate the screw point
strengthening webs on the HD144 body. Thus the lens will not require
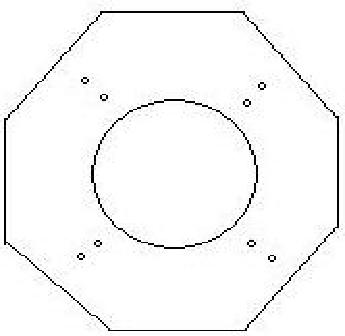
modification at all. The plate used to mount the HD144 lens must allow for the
clearance of the stock plate mounting bolts so we will make it an octagon shape.
The holes used for mounting the HD8 lenses can be used to attach the new plate.
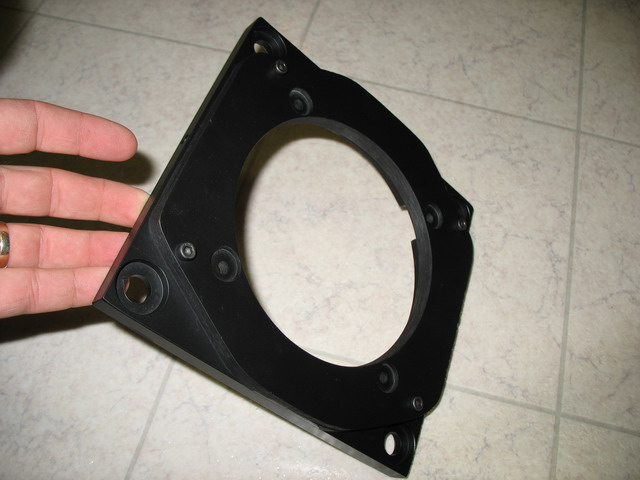
This is the design of the HD144 mounting plate:
This plate must be fabricated and should be painted flat black. The example
shown here was made from two pieces of 1/4" Plexiglass glued together to double its
thickness. Non-magnetic stainless steel (aka 300 series), aluminum or even MDF could be used. I would seal MDF if you
use that.
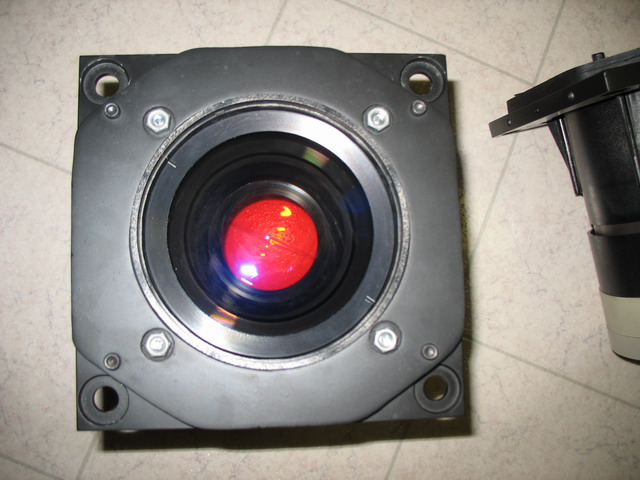
This the modification required for the stock plate:
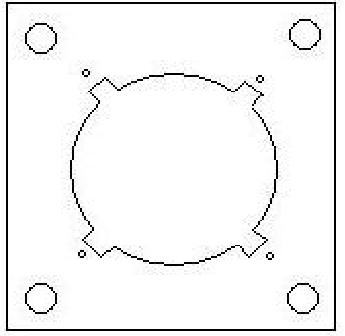
The above slots were made by using a Drill, Jigsaw and a File.
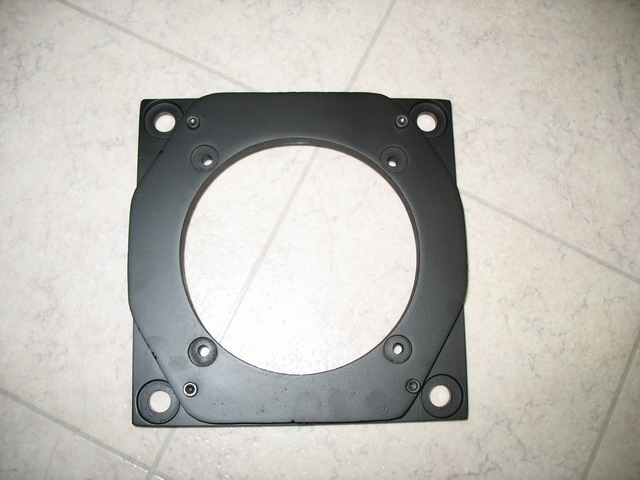
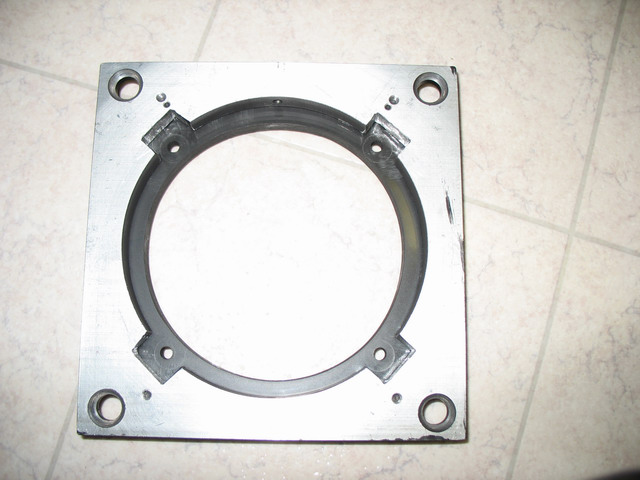
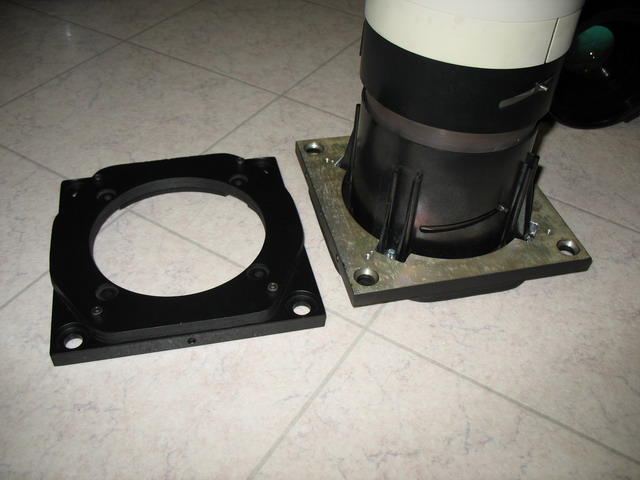
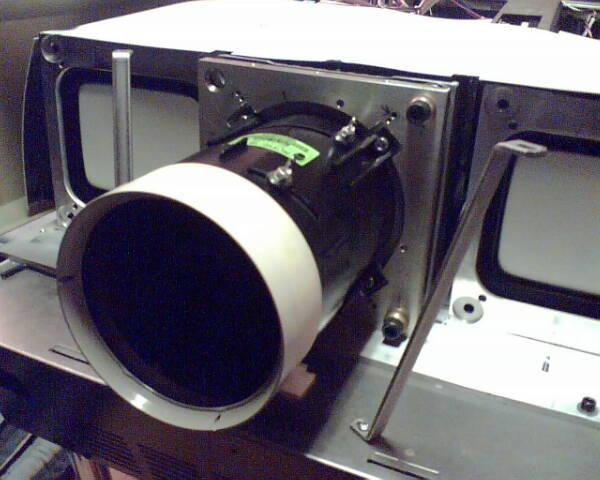
Below are some pictures of the finished product:
What is missing here is a way to encapsulate the nut so they
stay put when the lens is removed. One option is to use epoxy to secure the nuts
that accept the lens mounting bolts on the adapter plate. Having these secured
makes installing the lenses much easier.
If you have any comments please contact me.
barrybeadman@gmail.com
aka: Joust (on the forum)
| Did you find this information useful? Please consider making a
donation to help defray the cost of managing and hosting future
articles, tips, and documents. |
|
|
|
Or
purchase
from
Amazon.com
and a small percentage automatically
goes to support this site at no extra cost to you! Visit their
Blu-ray and
4K UHD
stores for sales.
Want to show off your
home theater? See our
Blu-ray Release List & Must-Have Titles. |
|

|
|

|

