| Author |
Message |
hansilili
Joined: 09 Mar 2007
Posts: 302
Location: Köln, Germany
|
| Posted: Sun Jun 10, 2007 11:32 am Post subject: tool for raster centering |
|
|
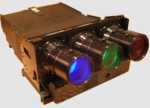
still not happy with green edge focus on my 6PGextra I figured it would need the 17th basic setup. You can't do this too often anyway. My quantum leap learning this time: you never know what your kids might be good for. My daughter is good for stealing her ruler  , cutting it to 12,5 cm lenght and rounding the edges to make a custom tool for raster centering on NEC PGs , cutting it to 12,5 cm lenght and rounding the edges to make a custom tool for raster centering on NEC PGs 
Guess this would be worthwhile adding to the basic setup procedures.
At least now the green edge focus can be adjusted evenly poor on all edges. The red tube is much better here.
| Description: |
|

Download |
| Filename: |
Bild2.jpg |
| Filesize: |
220.88 KB |
| Downloaded: |
629 Time(s) |
| Description: |
|
Download |
| Filename: |
Bild1.jpg |
| Filesize: |
393.53 KB |
| Downloaded: |
528 Time(s) |
_________________
HansA, alles andere ist euer Bier!
|
|
| Back to top |
|
 |
Ile
Joined: 09 Mar 2006
Posts: 1491
Location: Jyväskylä, Finland
|
| Posted: Sun Jun 10, 2007 11:04 pm Post subject: |
|
|
That would be good procedure, if crt's have perfect linearity. I used same method, until I realised that it's better to use picture edges to centering. I make final centering to all tubes after all geometry and convergence adjustment have been done. That usually means adjusting crt angles and all related again, but it's only way to get picture really centered in all tubes.
Why you have so small picture in tubes?
|
|
| Back to top |
|
|
garyfritz

Joined: 08 Apr 2006
Posts: 12088
Location: Fort Collins, CO
|
| Posted: Mon Jun 11, 2007 2:59 am Post subject: |
|
|
Very nice. Are the dolphins and orcas required for this procedure to work? 
|
|
| Back to top |
|
|
JustGreg

Joined: 07 Mar 2006
Posts: 3098
Location: Kenosha, WI
|
| Posted: Mon Jun 11, 2007 4:10 pm Post subject: |
|
|
Just don't bitch at her when she brings home failing grades in math...'cause it's all your fault! Now she'll have to live at home until well into her 40's. jk
Very cool tool for the CRT toolbox. I've yet to install my HD145's and Joust mods...I may just use the dolphin method when redoing everything. 
Greg
_________________
Greg
"Is it ignorance or apathy? Hey, I don't know and I don't care!" --Jimmy Buffett
|
|
| Back to top |
|
|
JustGreg
Joined: 07 Mar 2006
Posts: 3098
Location: Kenosha, WI
|
| Posted: Mon Jun 11, 2007 4:15 pm Post subject: |
|
|
| garyfritz wrote: | | Very nice. Are the dolphins and orcas required for this procedure to work? |
That avatar is just insane Gary! Jug meets can. Ahhh...what a way to go.
I'd get one of those for my garage but I don't think I could drink enough to keep myself entertained before passing out. Well, that and the whole wife thing..........
Greg
_________________
Greg
"Is it ignorance or apathy? Hey, I don't know and I don't care!" --Jimmy Buffett
|
|
| Back to top |
|
|
garyfritz
Joined: 08 Apr 2006
Posts: 12088
Location: Fort Collins, CO
|
| Posted: Mon Jun 11, 2007 4:48 pm Post subject: |
|
|
Well, I gotta say your avatar is pretty twisted too...  Maybe not as entertaining as mine but definitely disturbed! Maybe not as entertaining as mine but definitely disturbed!
|
|
| Back to top |
|
|
hansilili
Joined: 09 Mar 2007
Posts: 302
Location: Köln, Germany
|
| Posted: Fri Jan 04, 2008 10:54 am Post subject: |
|
|
Dear friends of CRT,
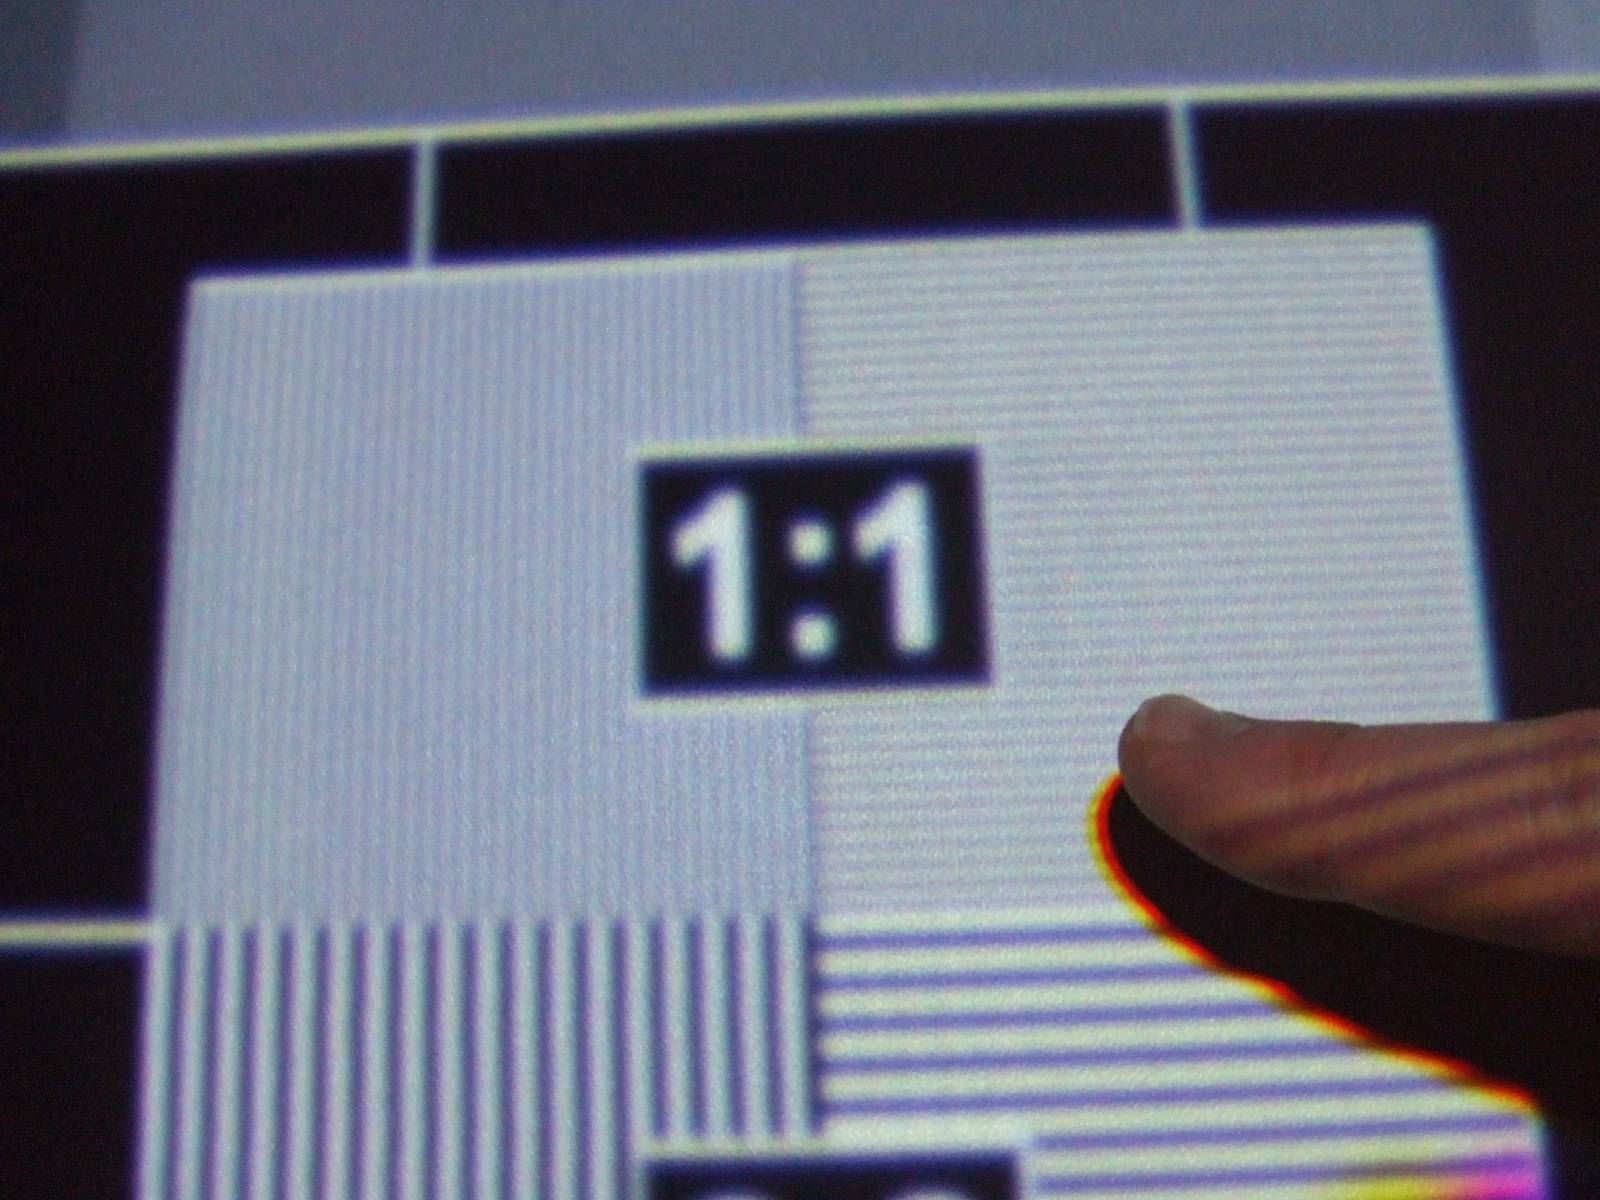
rebuilding my HT I wanted to further optimize the projector. Added some fans, put it in a hush box and maximized raster and image. The result works well for me, screen shot is 1920x1080@50.001Hz on 2.43 m wide screen. Although the dolphin ruler was still at hand the setup went even better with the custom made cross hair pattern. Print the pdf on an over head projector transparent slide (or what ever you call this in english) and cut out the circle.
Kal, I would have loved to have something like this at hand in the first place when I started with CRT's last year. If you feel it would be appropriate please add it to the procedures download section.
hansilili
| Description: |
|
| Filesize: |
171.95 KB |
| Viewed: |
5157 Time(s) |
|
| Description: |
|
Download |
| Filename: |
DSCF1687.jpg |
| Filesize: |
445.97 KB |
| Downloaded: |
444 Time(s) |
| Description: |
|
Download |
| Filename: |
Fadenkreuz.pdf |
| Filesize: |
26.52 KB |
| Downloaded: |
370 Time(s) |
_________________
HansA, alles andere ist euer Bier!
|
|
| Back to top |
|
|
hansilili
Joined: 09 Mar 2007
Posts: 302
Location: Köln, Germany
|
| Posted: Fri Jan 04, 2008 11:10 am Post subject: |
|
|
Just read Ile's comment which is completely correct: Use the edges for centering and linearity control for alingement and convergence on the screen. When doing linear balance one don't forget to actually measure it on the screen (mark a centered corss hair on the screen every quater length with sticky tape. I was amazed by the offset of mine.
_________________
HansA, alles andere ist euer Bier!
|
|
| Back to top |
|
|
dropzone7

Joined: 12 Jun 2007
Posts: 1069
Location: Charlotte, NC
|
| Posted: Fri Jan 04, 2008 1:12 pm Post subject: |
|
|
What is the blue dot on your pattern for? Upper right quadrant, one square from the intersection of the two lines. Does this cover the entire tube glass and how did you attach it?
_________________
"Coffee is for Closers."
|
|
| Back to top |
|
|
hansilili
Joined: 09 Mar 2007
Posts: 302
Location: Köln, Germany
|
| Posted: Fri Jan 04, 2008 3:28 pm Post subject: |
|
|
you can ignore the dot. What you see is the print off an excel chart with one data point.
Yes I could have chosen a data point outside of the visible range
_________________
HansA, alles andere ist euer Bier!
|
|
| Back to top |
|
|
stefuel

Joined: 07 Mar 2006
Posts: 3353
Location: Green Harbor MA USA
|
| Posted: Sat Jan 05, 2008 10:44 am Post subject: |
|
|
The easiest way to do it is to take a water based marker and draw a X on the tube face using the corner to corner method. Then input a center cross pattern and overlap the two. Done deal. Of cource this only works with a AC type projector. Then clean the tube face and reinstall the lenses.
_________________
Chip
A Barco is only a AmPro with training wheels
Card carrying member of the AVS chain gang.
|
|
| Back to top |
|
|
lyd
Joined: 15 Sep 2007
Posts: 390
Location: Lake Mills, Wi
|
| Posted: Sat Jan 05, 2008 11:13 am Post subject: |
|
|
| stefuel wrote: | | The easiest way to do it is to take a water based marker and draw a X on the tube face using the corner to corner method. Then input a center cross pattern and overlap the two. Done deal. Of cource this only works with a AC type projector. Then clean the tube face and reinstall the lenses. |
The corners are rounded, and when I tried this I had a very difficult time judging the actual corner of the corner, if you see what I mean. Between the rounding and the perspective shift you get as a result of the actual tube face being behind that thick glass -- move your head a fraction of an inch and the point you are apparently looking at changes -- I couldn't achieve any kind of consistent results.
lyd
|
|
| Back to top |
|
|
stefuel
Joined: 07 Mar 2006
Posts: 3353
Location: Green Harbor MA USA
|
| Posted: Sat Jan 05, 2008 12:30 pm Post subject: |
|
|
| lyd wrote: | | stefuel wrote: | | The easiest way to do it is to take a water based marker and draw a X on the tube face using the corner to corner method. Then input a center cross pattern and overlap the two. Done deal. Of cource this only works with a AC type projector. Then clean the tube face and reinstall the lenses. |
The corners are rounded, and when I tried this I had a very difficult time judging the actual corner of the corner, if you see what I mean. Between the rounding and the perspective shift you get as a result of the actual tube face being behind that thick glass -- move your head a fraction of an inch and the point you are apparently looking at changes -- I couldn't achieve any kind of consistent results.
lyd |
That's not going to change if you use a ruler or mark the glass. It does however free up your hand from holding a ruler while while attempting to rotate raster centering rings and look at the tube face all at the same time.
_________________
Chip
A Barco is only a AmPro with training wheels
Card carrying member of the AVS chain gang.
|
|
| Back to top |
|
|
AFryia

Joined: 09 Mar 2006
Posts: 965
Location: S.E. Michigan VPH-G70Q
|
| Posted: Sat Jan 05, 2008 5:53 pm Post subject: |
|
|
I use an easier method that doesn't require removing the lenses and works well with LC lenses. It does require a light controlled room or total darkness. I believe Guy Kuo mentions it in his holy focus guide.
With no signal input, set contrast to Min and brightness to Max. The entire tube face 100% should have a dim glow all the way to the edge. You can actually see the tube edges projected onto your wall/screen.
I mechanically aim the PJ and "toe" of each tube to center this projected raster relative to the screen. To center I use the left/right/top/botom edges to balance/center relative to the screen. You will want to have at least rough adjusted the scheimpflug as it will affect the mechanical aim somewhat.
The edges fall off the screen 3-4 inches so as long active the video stays on the screen it won't be near the edge.
_________________
My Volt Blog
|
|
| Back to top |
|
|
|
|


