|
As this forum is rarely used anymore, we've locked it. Feel free to browse and read. Questions? Please reach out to us directly. Cheers! |
|
|
 |
|
|
| Author |
Message |
thewolfman

Joined: 28 Mar 2011
Posts: 1311
Location: Sweden
|
| Posted: Tue Dec 02, 2014 2:42 pm Post subject: |
|
|
| barclay66 wrote: | Hi,
Mounting fans close to the tubes might not be the best idea. The fan's pulsating magnetic field could have an effect on them. I once tried mounting fans on top of the FGM and HDM cages and it resulted in some significant wobble in the picture. I could avoid that only by mounting them further away and by directing the airflow via specially constructed ducts.
I'd suggest testing everything thoroughly before mounting the projector...
Regards,
barclay66 |
Hi
That's good advice, and I was afraid something like that could happen and glad you mentioned it. I could try laying them flat on top of HDM+FGM and see first before mounting the pj.
But I once had one 80mm fan on top of the HDM, laying flat and without the lid on blowing downwards, and that worked out fine, but I guess such small once might have much less impact on the image.
So, if one 80mm works, then maybe 2 or even 3 works just as well as 1 big 120mm does vertically. If they don't hit the roof of the casing that is. I could raise the lid just a tiny bit as well.
And feel free to post images about your ducts you were mentioning as I'm very interested to see. Or just solutions if you have any. I have the tools to make ducts If I really wanted to, by maybe having fans on the right side of HDM and left side of FGM + ducts, or just tucked right next to the housing with no ducts. Obviously the back-end of card will lessen the cooling effect doing it like that.
If there is a will there's a way.
Thanks.
|
|
| Back to top |
|
 |
stridsvognen
Guest
|
| Posted: Tue Dec 02, 2014 4:36 pm Post subject: |
|
|
| thewolfman wrote: |
But I once had one 80mm fan on top of the HDM, laying flat and without the lid on blowing downwards, and that worked out fine, but I guess such small once might have much less impact on the image.
Thanks. |
How will this impact the image.? What specifik board is it you have problems with, and how is it showing on screen.?
|
|
| Back to top |
|
|
thewolfman
Joined: 28 Mar 2011
Posts: 1311
Location: Sweden
|
| Posted: Tue Dec 02, 2014 4:54 pm Post subject: |
|
|
| stridsvognen wrote: | | thewolfman wrote: |
But I once had one 80mm fan on top of the HDM, laying flat and without the lid on blowing downwards, and that worked out fine, but I guess such small once might have much less impact on the image.
Thanks. |
How will this impact the image.? What specifik board is it you have problems with, and how is it showing on screen.? |
Before, when the pj was working, I had that little fan on there and there was nothing strange with the image, as I can recall. Just plain old 8500 heatsink boards + an modded Ultra HDM.
But later, when the 2008 parts came on, I had that fan removed, I had to in order to slid the new HDM in there, and left with a twitchy image sideways.
Although, those 2008 parts started off with new timings, so that little fan has nothing to do with anything as I never put it back on again.
I came up some numbers, close to what I was using before, but got a heavy jumpy image.. but I sorted that one out with old settings that I have used in the past, and without any strange vibrations to it.
Still, the image is now twitching sideways randomly here and there, a mm or so, and makes it look a little nervous when stationary images is on.
But, I guess it will work itself out when all the 2008 parts are here.. now it's a big mix of 8500, 9500 + ultra parts.
+ I never got around to test timings from Nashou before I broke my pj in a silly event.
|
|
| Back to top |
|
|
stridsvognen
Guest
|
| Posted: Tue Dec 02, 2014 5:01 pm Post subject: |
|
|
| thewolfman wrote: | | stridsvognen wrote: | | thewolfman wrote: |
But I once had one 80mm fan on top of the HDM, laying flat and without the lid on blowing downwards, and that worked out fine, but I guess such small once might have much less impact on the image.
Thanks. |
How will this impact the image.? What specifik board is it you have problems with, and how is it showing on screen.? |
Before, when the pj was working, I had that little fan on there and there was nothing strange with the image, as I can recall. Just plain old 8500 heatsink boards + an modded Ultra HDM.
But later, when the 2008 parts came on, I had that fan removed, I had to in order to slid the new HDM in there, and left with a twitchy image sideways.
Although, those 2008 parts started off with new timings, so that little fan has nothing to do with anything as I never put it back on again.
I came up some numbers, close to what I was using before, but got a heavy jumpy image.. but I sorted that one out with old settings that I have used in the past, and without any strange vibrations to it.
Still, the image is now twitching sideways randomly here and there, a mm or so, and makes it look a little nervous when stationary images is on.
But, I guess it will work itself out when all the 2008 parts are here.. now it's a big mix of 8500, 9500 + ultra parts.
+ I never got around to test timings from Nashou before I broke my pj in a silly event. |
So who dont you use some more energy and time get it up running smooth in standard trim before you start all the DIY fan stuf, ill guess that might trow you even more off if it also introduce some problems.
I would think a unstable machine is a very very bad start point for experiments and mods.
|
|
| Back to top |
|
|
jbmeyer13
Joined: 03 Dec 2010
Posts: 1135
|
| Posted: Tue Dec 02, 2014 5:08 pm Post subject: |
|
|
| thewolfman wrote: |
+ I never got around to test timings from Nashou before I broke my pj in a silly event. |
Did you spill Beer on it? 
_________________
Projector: Modded 9501LC ULtra- MP VIM, Vold VNB, ETECH LVPS, Silver VIM Cables, HD10F's & a V1 case!
|
|
| Back to top |
|
|
thewolfman
Joined: 28 Mar 2011
Posts: 1311
Location: Sweden
|
| Posted: Tue Dec 02, 2014 5:09 pm Post subject: |
|
|
| Quote: | So who dont you use some more energy and time get it up running smooth in standard trim before you start all the DIY fan stuf, ill guess that might trow you even more off if it also introduce some problems.
I would think a unstable machine is a very very bad start point for experiments and mods. So who dont you use some more energy and time get it up running smooth in standard trim before you start all the DIY fan stuf, ill guess that might trow you even more off if it also introduce some problems.
I would think a unstable machine is a very very bad start point for experiments and mods. |
You're absolute right, Kurt. I'm bored I guess. But it wont be long now before it's up and running with almost every part shipped out.
@Justin. No! 
| Description: |
|
| Filesize: |
258.37 KB |
| Viewed: |
7602 Time(s) |
|
Last edited by thewolfman on Sun Nov 15, 2015 11:32 am; edited 1 time in total
|
|
| Back to top |
|
|
thewolfman
Joined: 28 Mar 2011
Posts: 1311
Location: Sweden
|
| Posted: Thu Jan 22, 2015 12:13 pm Post subject: |
|
|
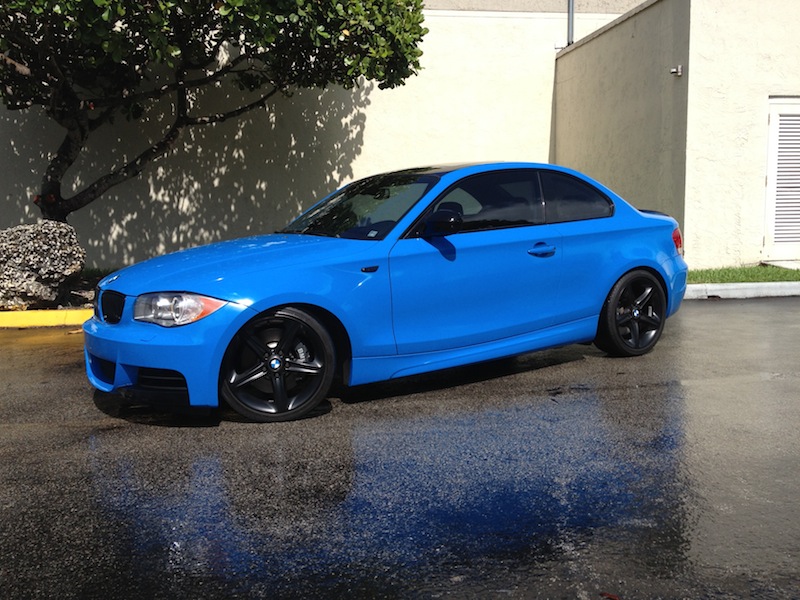
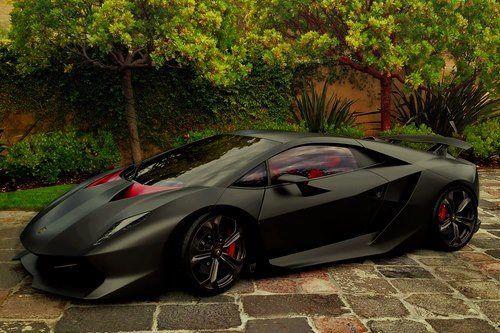
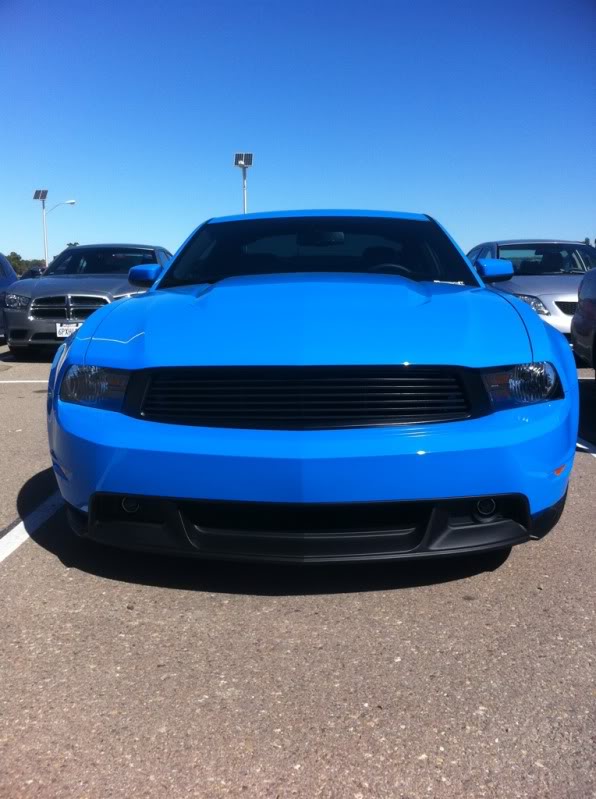
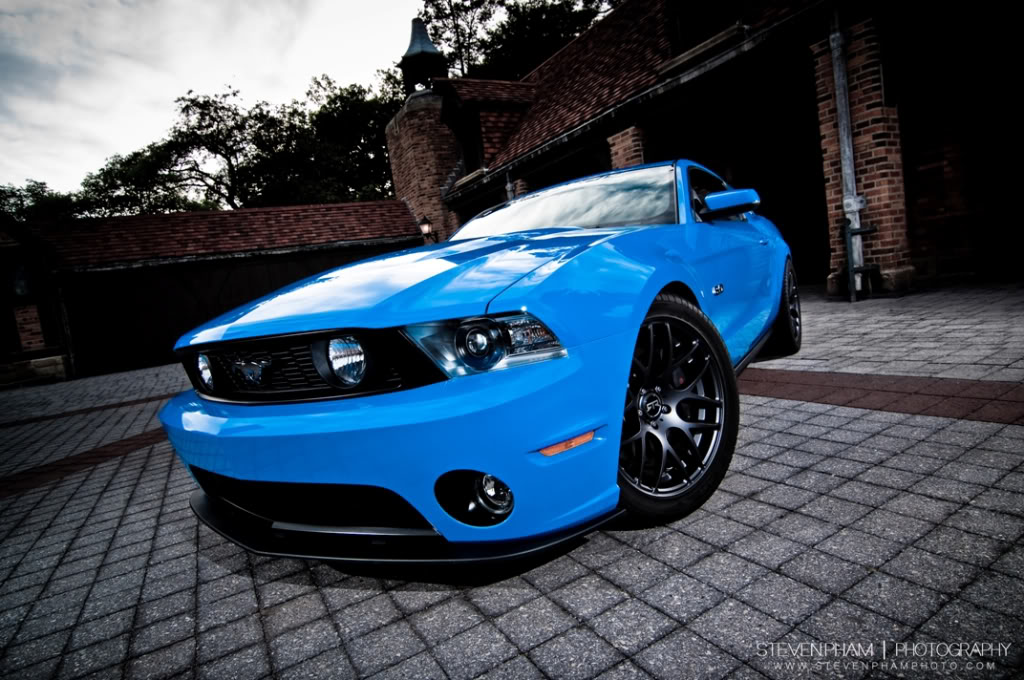
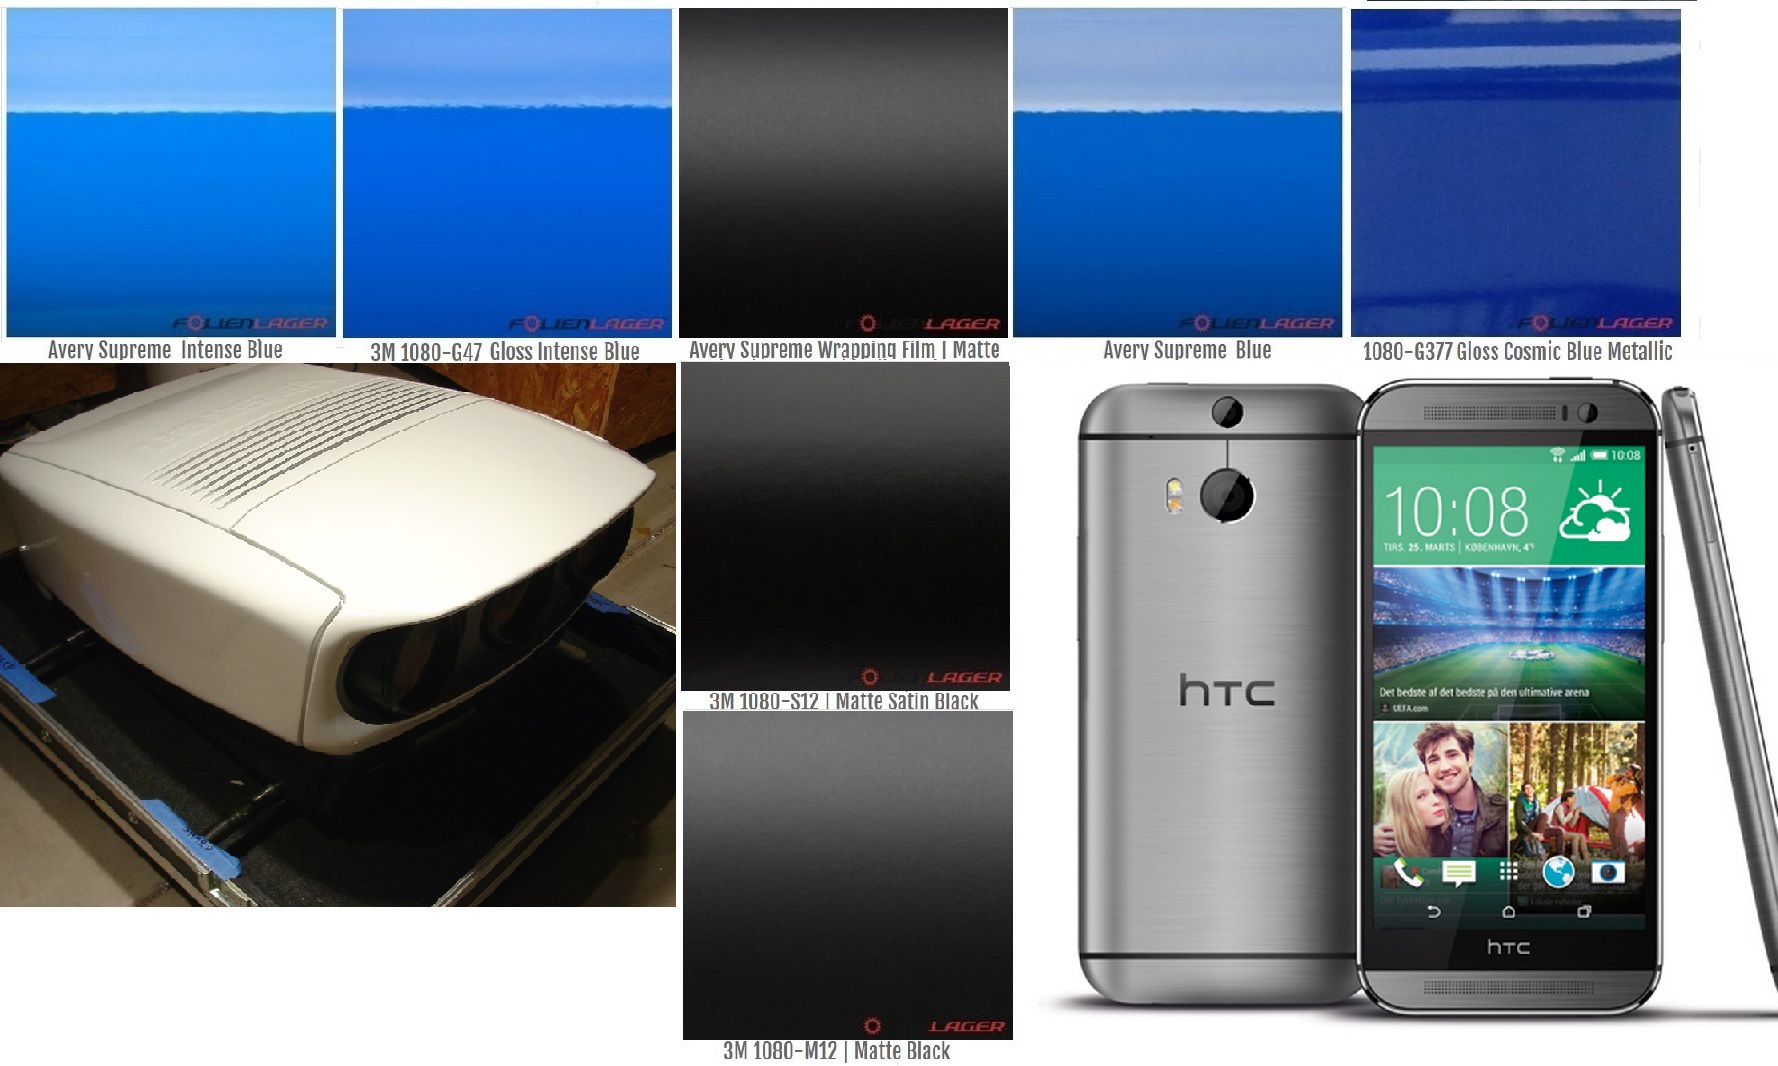
What you guys think is the better color for the chassis? I'm very interested in the Mustang Grabber Blue vinyl wrap. The equivalent for that color is the 1080 M3 G47 intense blue.
I'm also contemplating the idea, with having a two tone job to get the best of both worlds, with Grabber blue on top + satin black on front lid covering the lenses. Everything else is blue.
Or - blue on the top and sides and front lid - and satin black on the lower sides + a little around the outlines of the pore-truing lenses to break it off a bit.
I also like M3 matt black satin very much + red lettering of some sort.
And also M3 Silver sterling gray.
Brushed Gray is also very appealing. That + pitch black lettering.
(Some of the pictures, of the cars, are painted in the color that I like and not vinyl wrapped at all.)
| Description: |
|
| Filesize: |
183.52 KB |
| Viewed: |
7523 Time(s) |
|
| Description: |
|
| Filesize: |
46.28 KB |
| Viewed: |
7523 Time(s) |
|
| Description: |
|
| Filesize: |
74.25 KB |
| Viewed: |
7523 Time(s) |
|
| Description: |
|
| Filesize: |
156 KB |
| Viewed: |
7523 Time(s) |
|
| Description: |
|
| Filesize: |
340.94 KB |
| Viewed: |
7523 Time(s) |
|
|
|
| Back to top |
|
|
barclay66

Joined: 27 Jun 2011
Posts: 1304
Location: Germany
TV/Projector: Marquee 9500 Ultra
|
| Posted: Thu Jan 22, 2015 1:03 pm Post subject: |
|
|
| thewolfman wrote: | | I also like M3 matt black satin very much + red lettering of some sort. |
This one should look great and You will avoid any kind of reflections of a glossy surface.
Regards,
barclay66
|
|
| Back to top |
|
|
redfox001

Joined: 16 Mar 2009
Posts: 2257
Location: The Netherlands
|
| Posted: Thu Jan 22, 2015 2:05 pm Post subject: |
|
|
Good screenshots. New camera? I guess you used mkv and not full blu ray for the shots is that correct?
_________________
701s->runco933->8500ultra->cinemax->9500mp->919 splitpack + cinemax
|
|
| Back to top |
|
|
thewolfman
Joined: 28 Mar 2011
Posts: 1311
Location: Sweden
|
| Posted: Thu Jan 22, 2015 2:52 pm Post subject: |
|
|
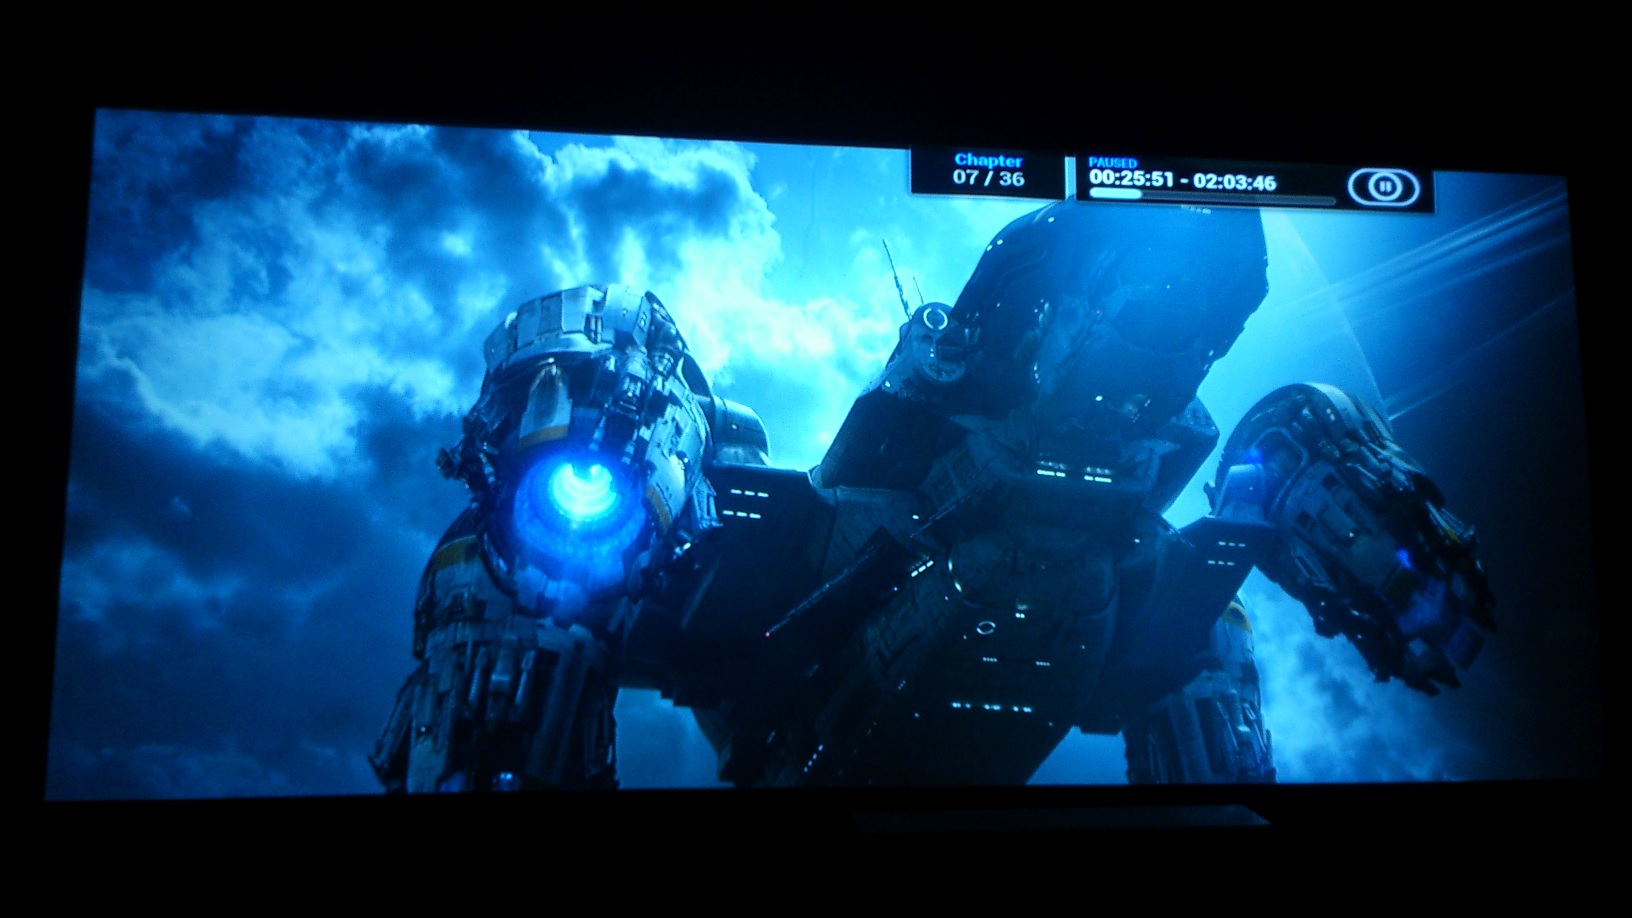
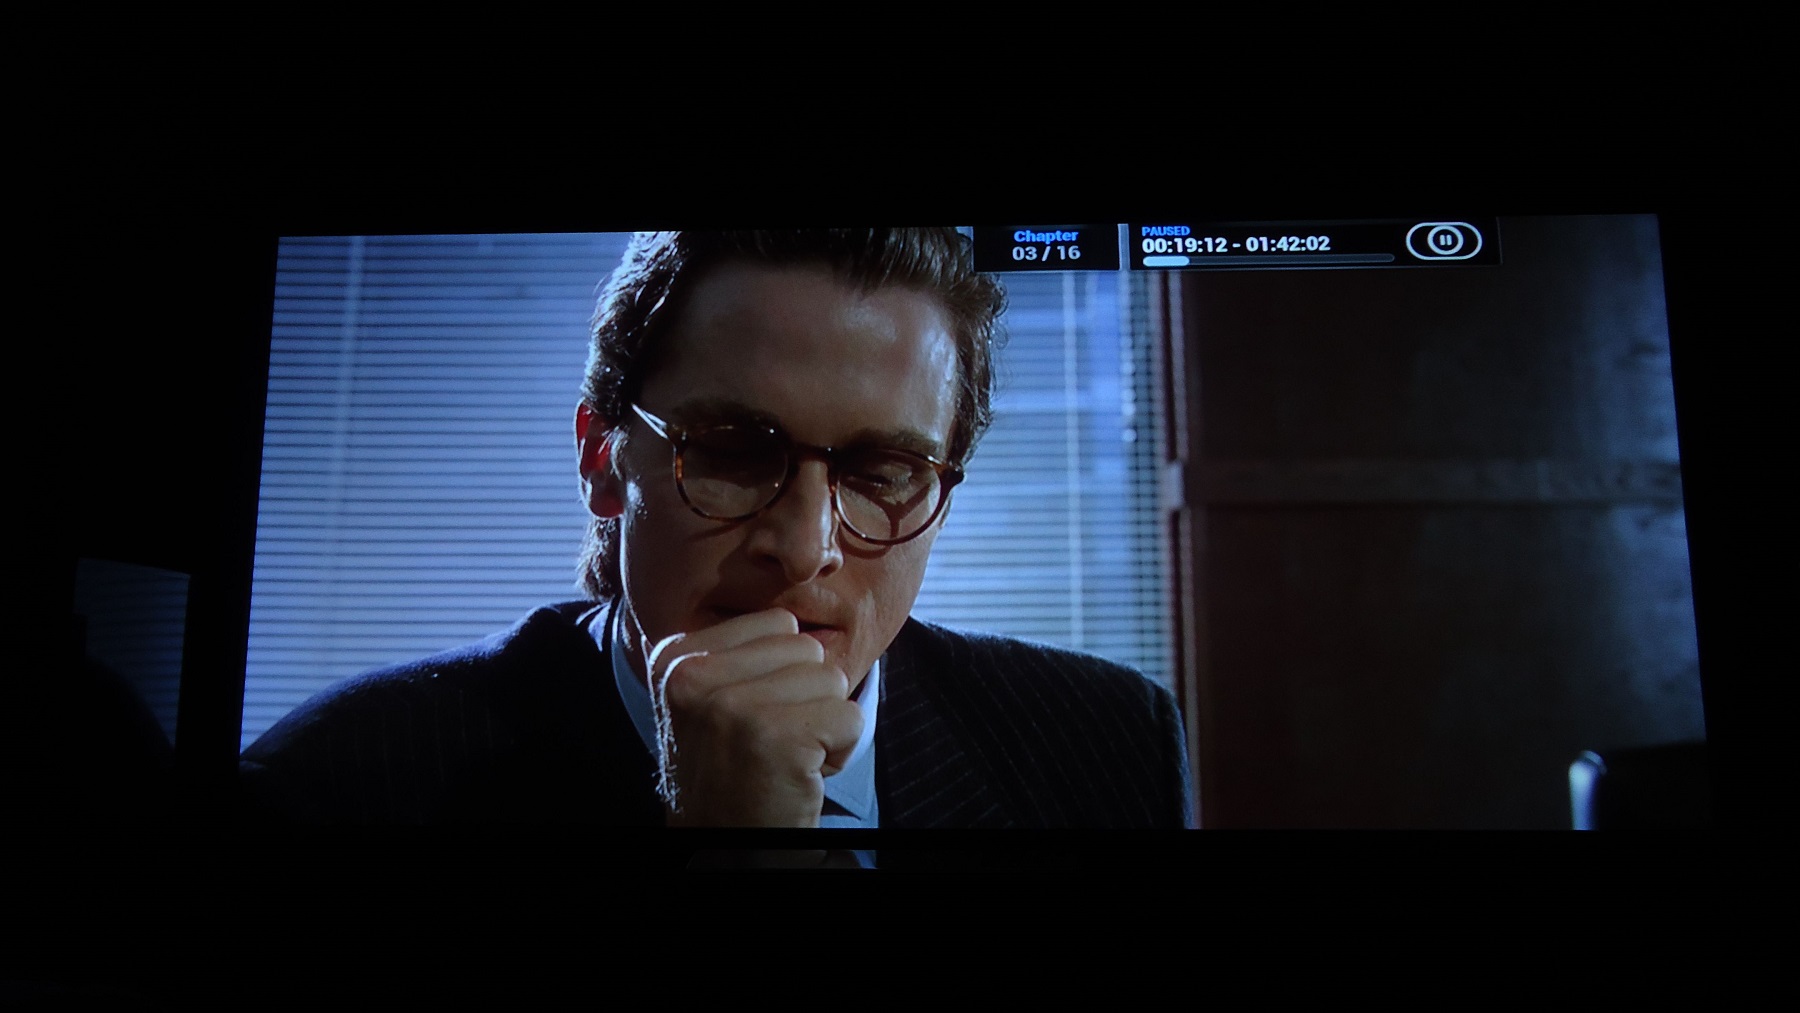
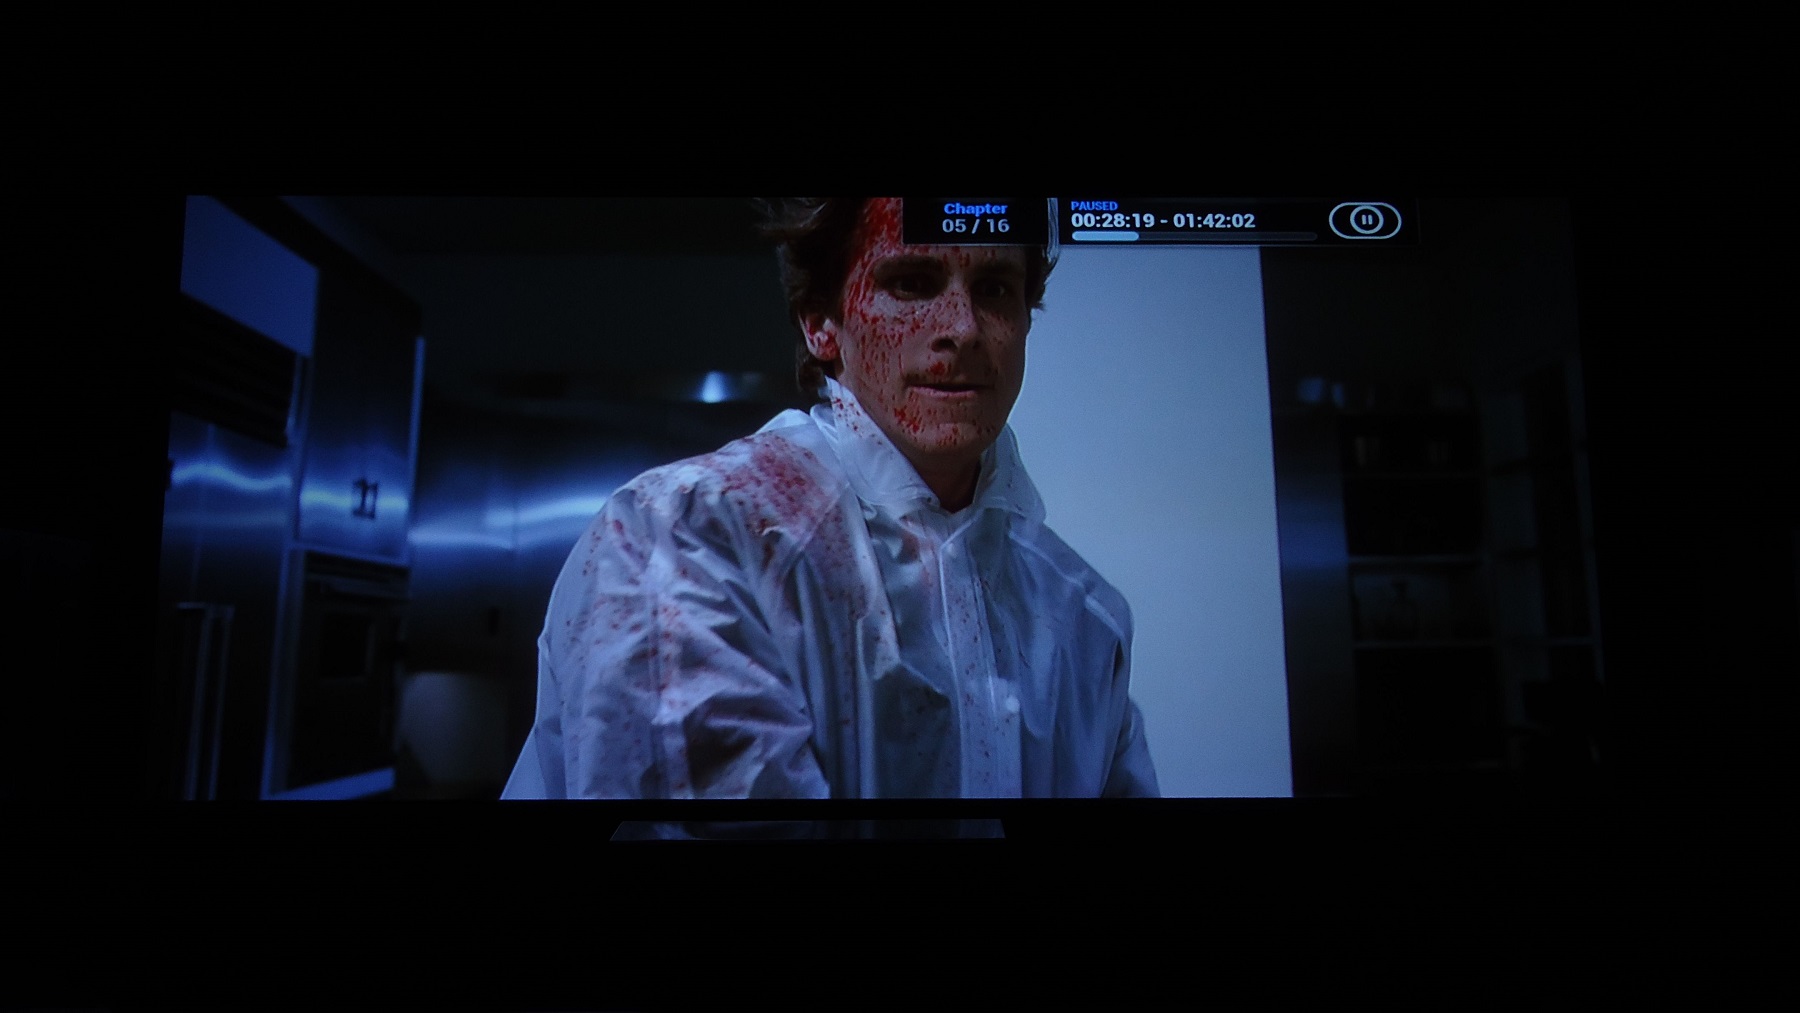
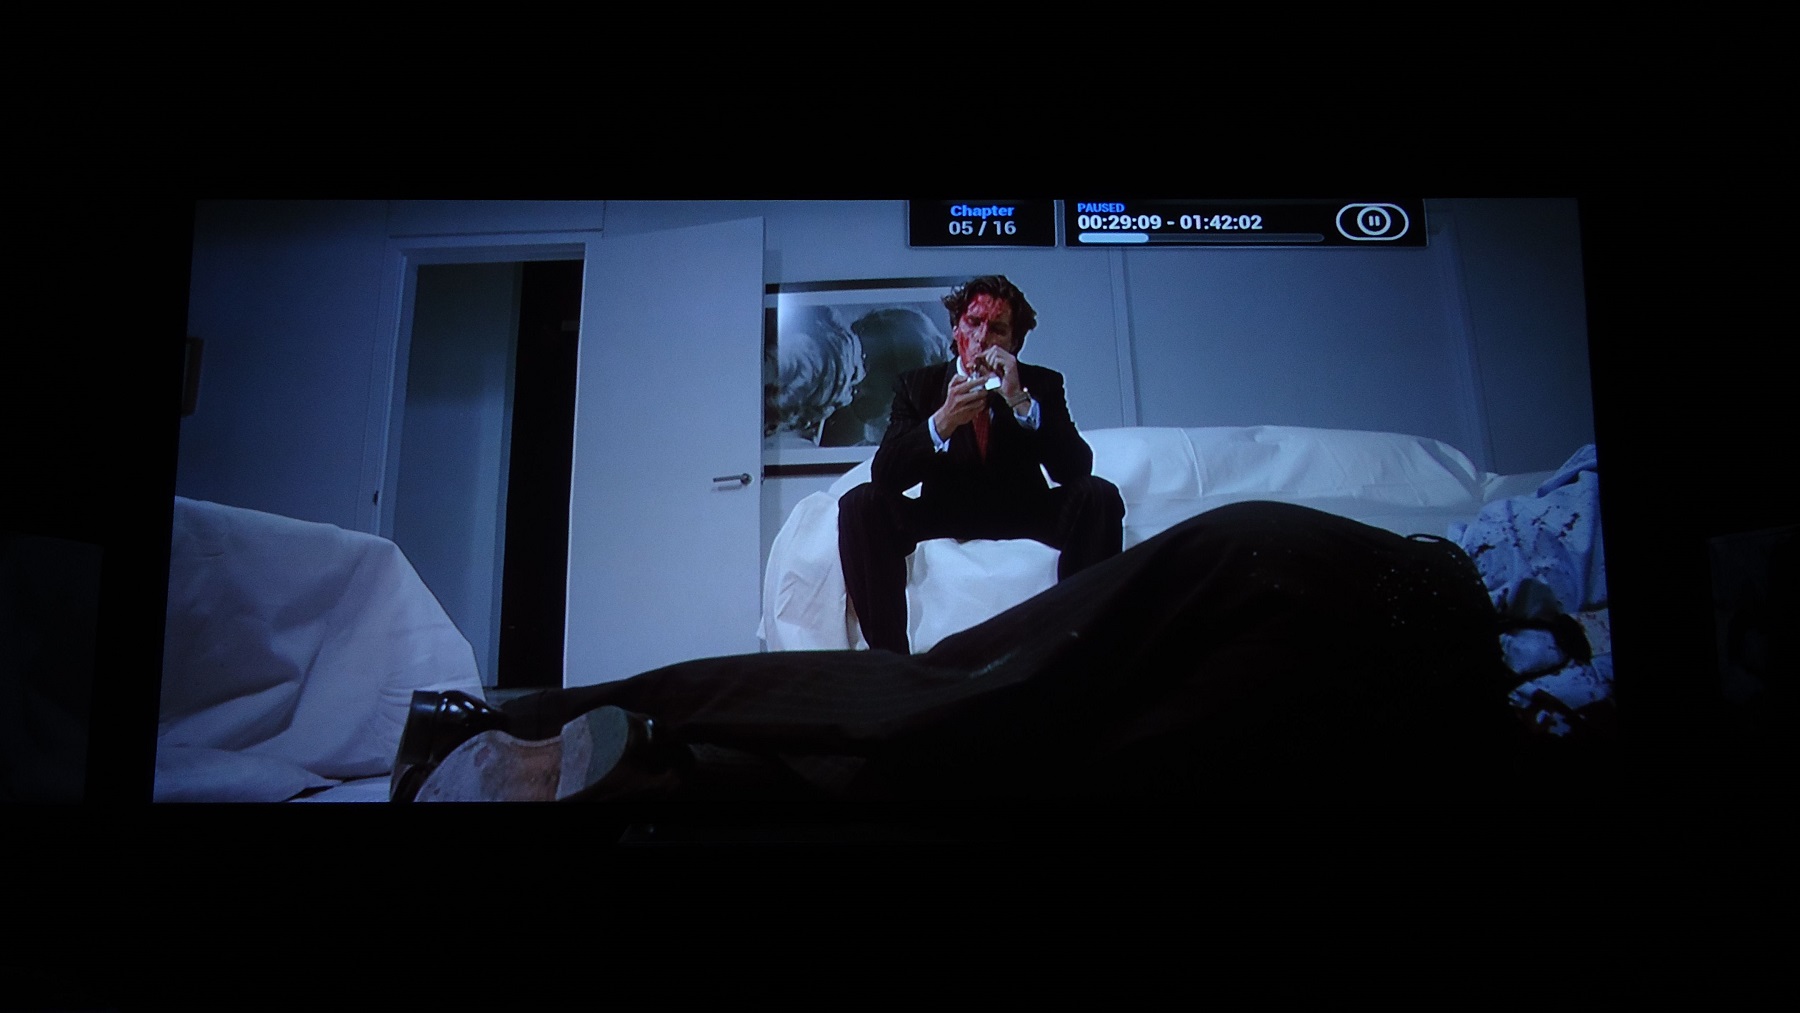
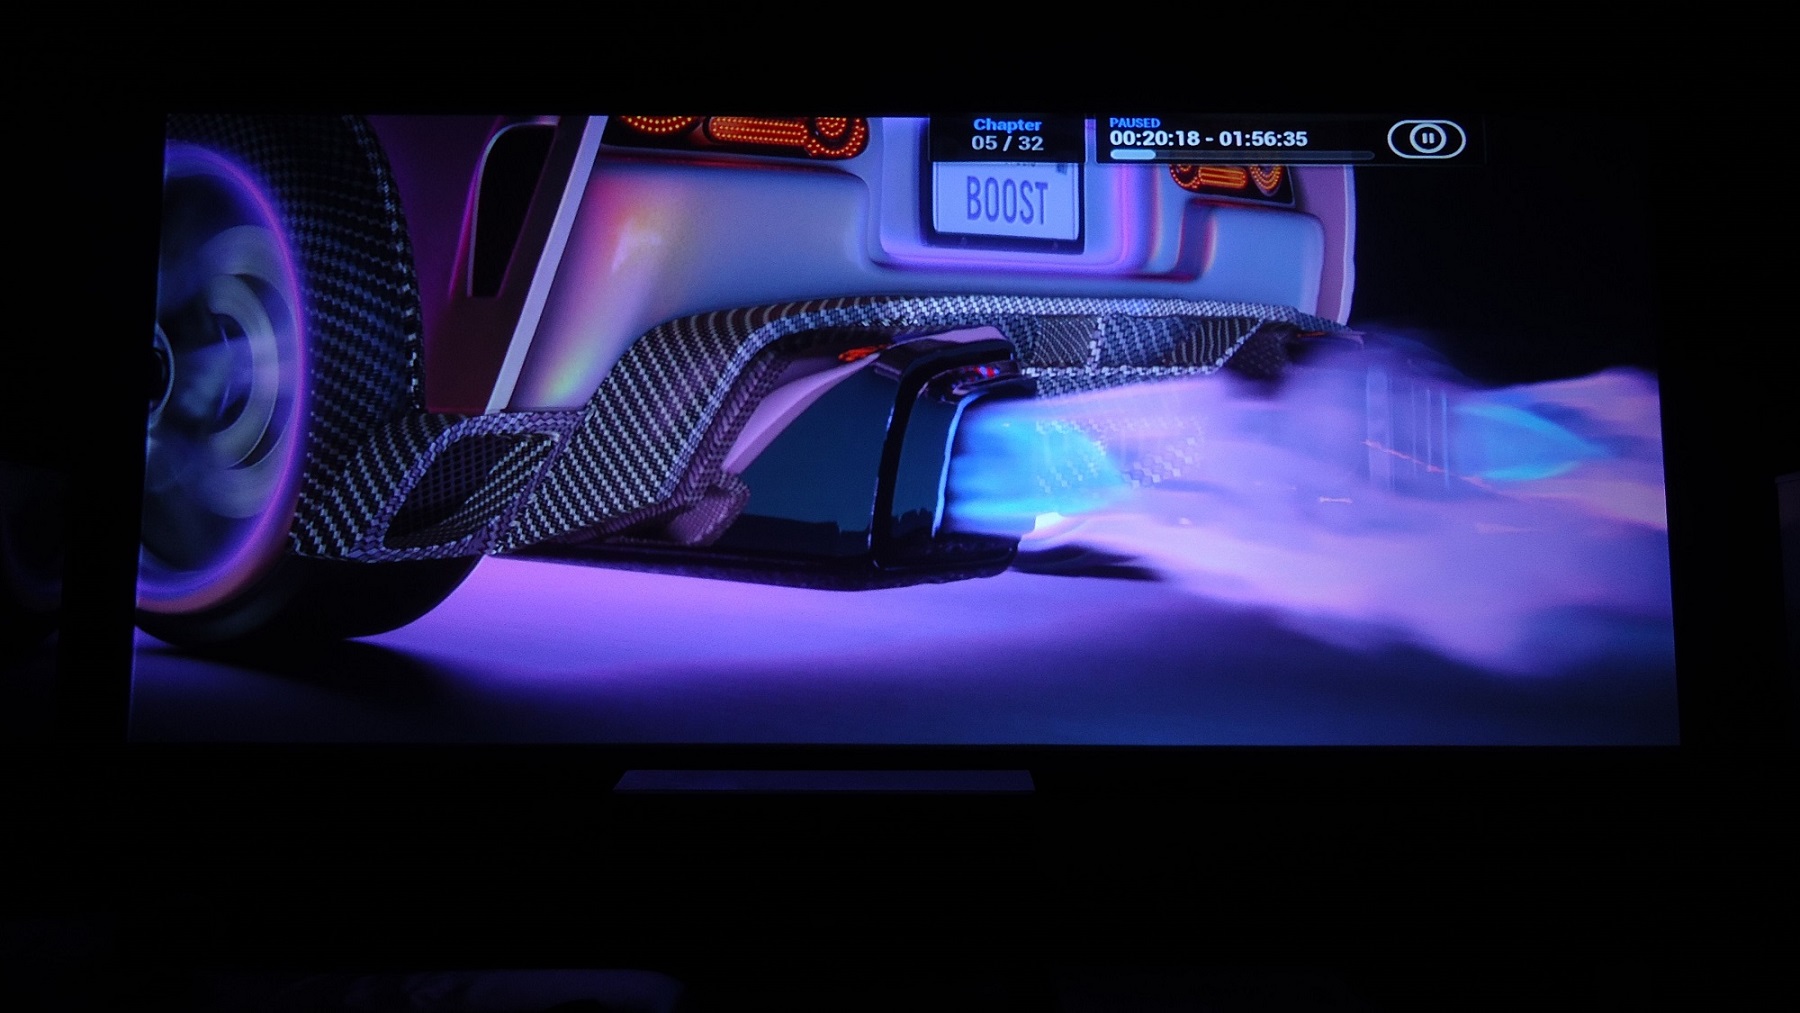
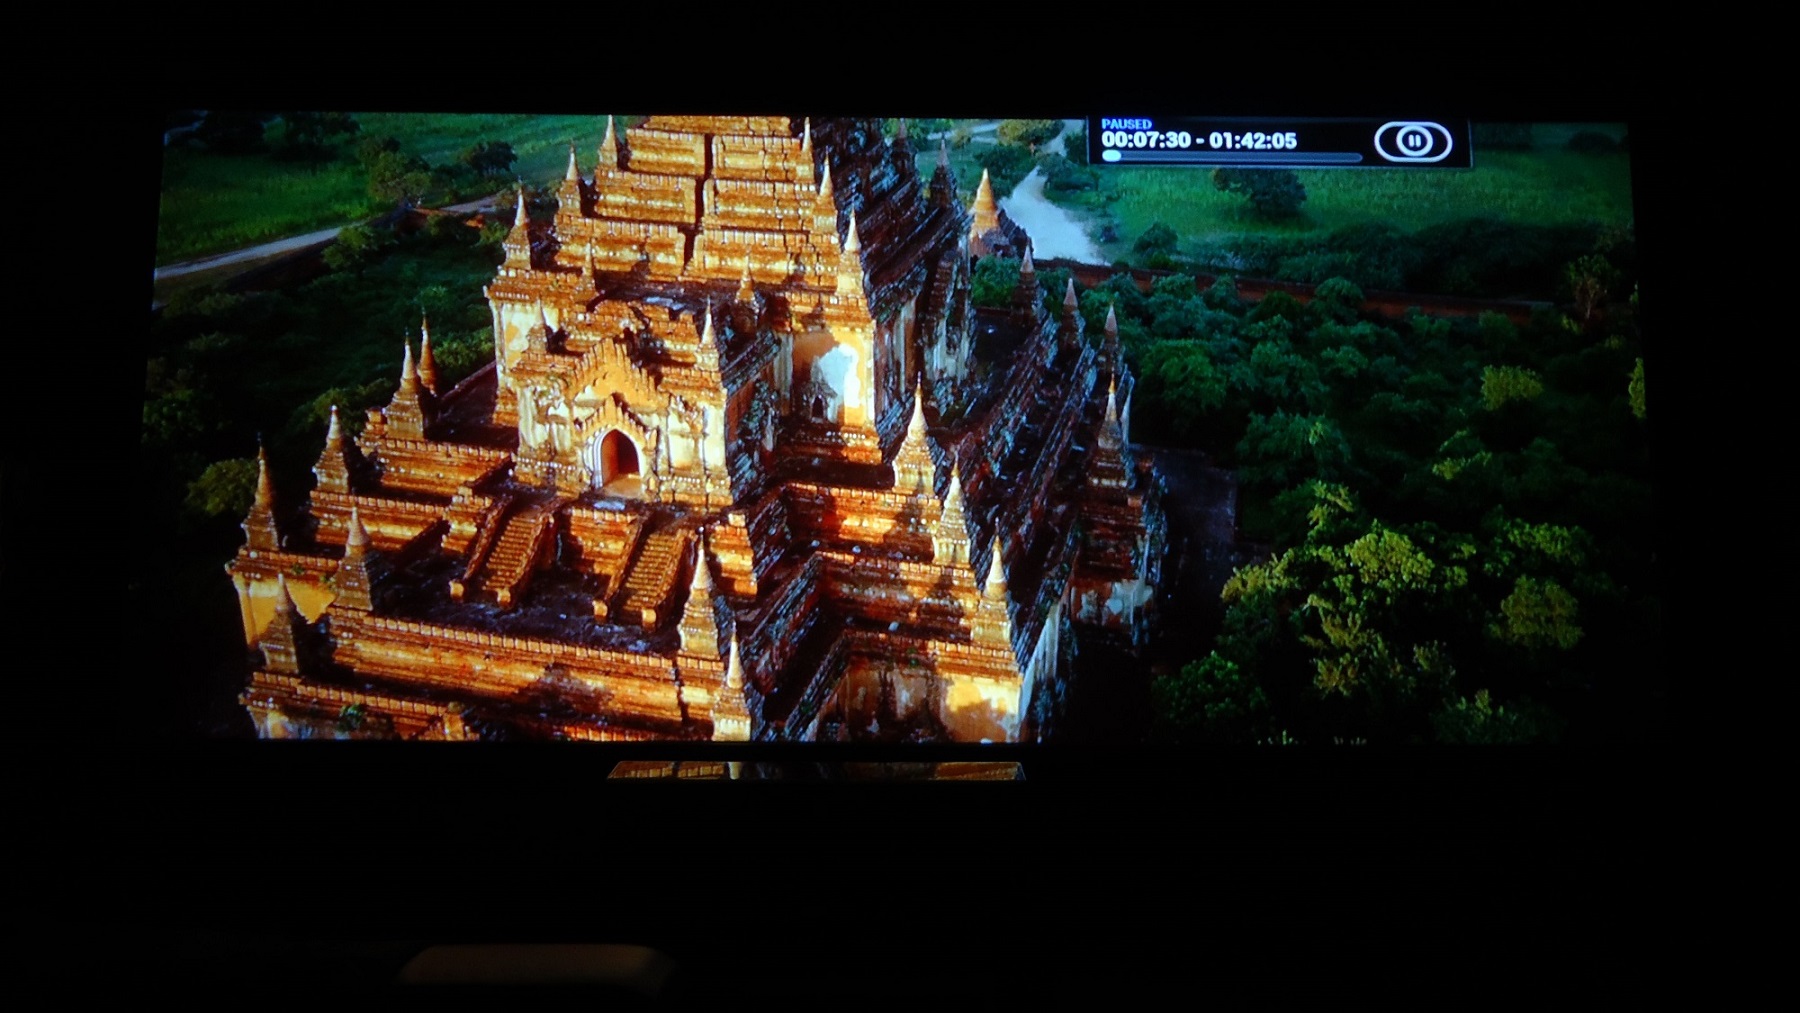
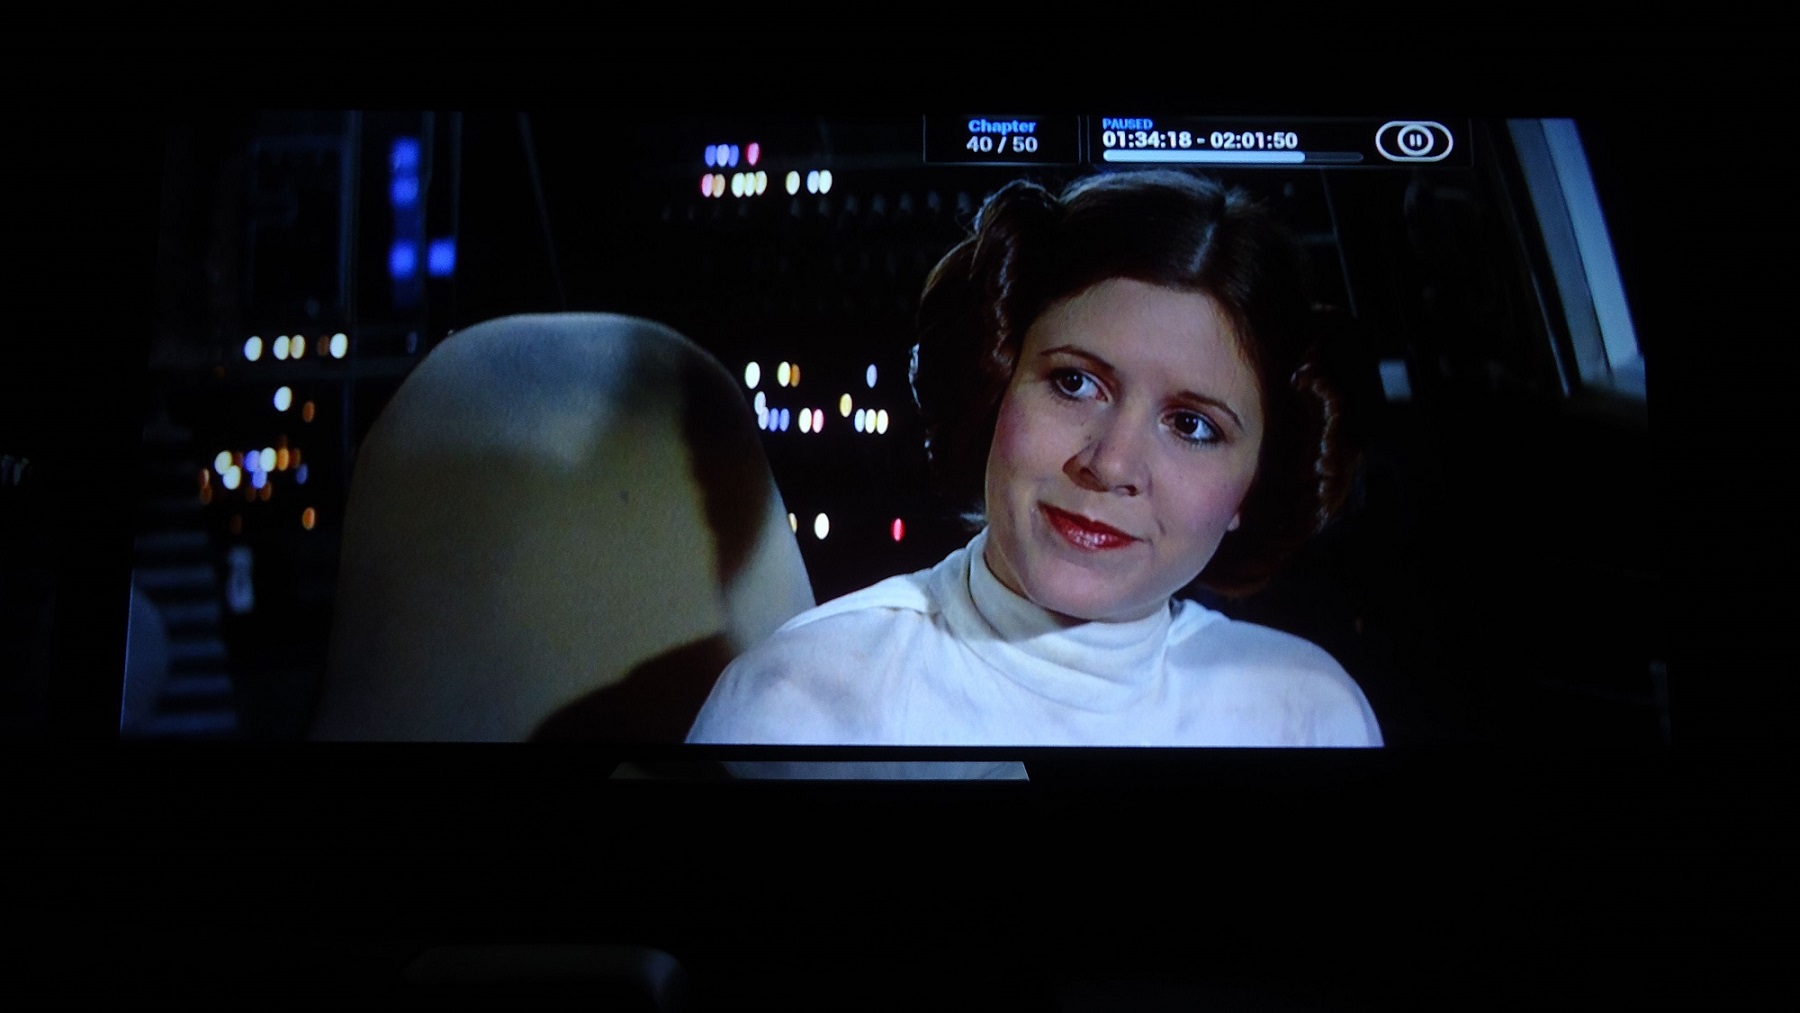
No, these old screenies are the same as before but I am trying out my new camera as we speak.
Though, ISO 80 is as low as it gets.. but still leaps over the mobile that I used before. I have actually grown an interest about photography because of these screenies and now HDR especially.
You are right about that but will take some screenies with remux later, should be interested to see if there's a visual difference there.
Last edited by thewolfman on Wed Jan 28, 2015 3:03 am; edited 2 times in total
|
|
| Back to top |
|
|
redfox001
Joined: 16 Mar 2009
Posts: 2257
Location: The Netherlands
|
| Posted: Thu Jan 22, 2015 3:11 pm Post subject: |
|
|
ISO 80 seems very low but if you set the aperture to big (f number to low) the lens will limit the bandwidth. So long exposure and tripod seems necessarily. But that is all I know.
_________________
701s->runco933->8500ultra->cinemax->9500mp->919 splitpack + cinemax
|
|
| Back to top |
|
|
thewolfman
Joined: 28 Mar 2011
Posts: 1311
Location: Sweden
|
| Posted: Thu Jan 22, 2015 3:18 pm Post subject: |
|
|
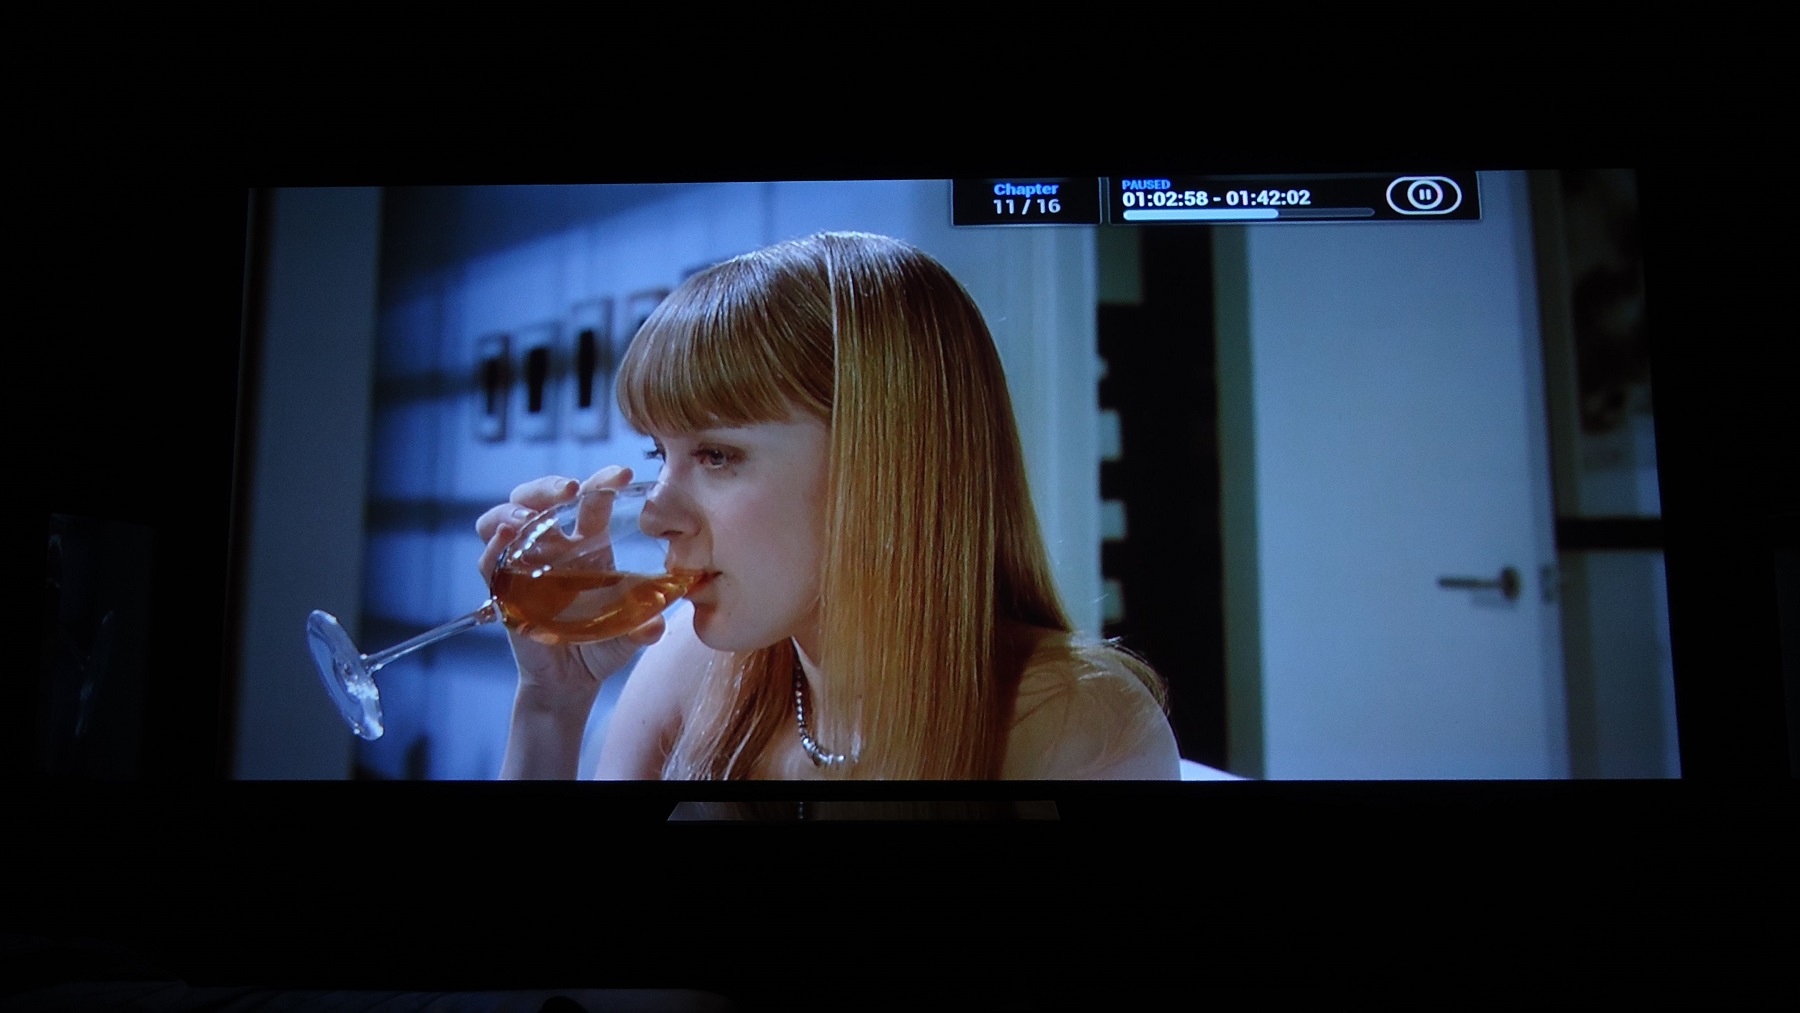
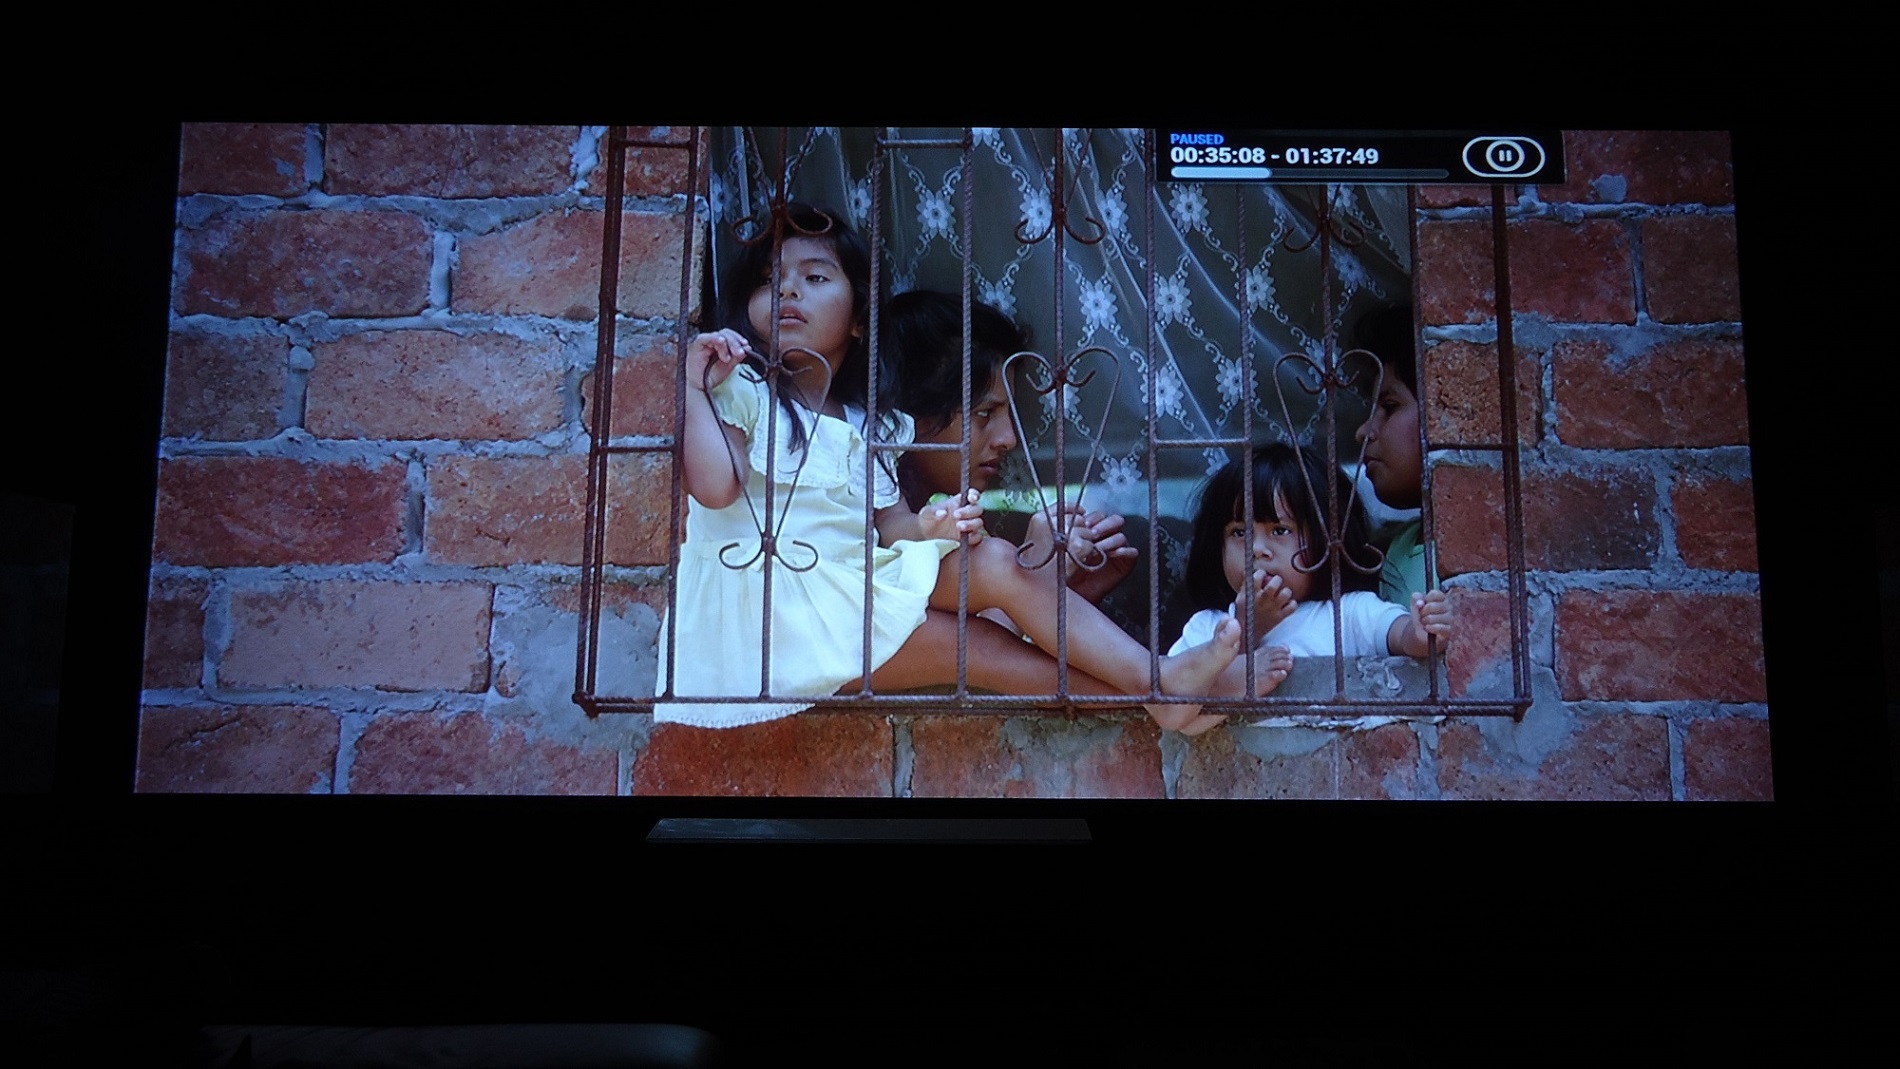
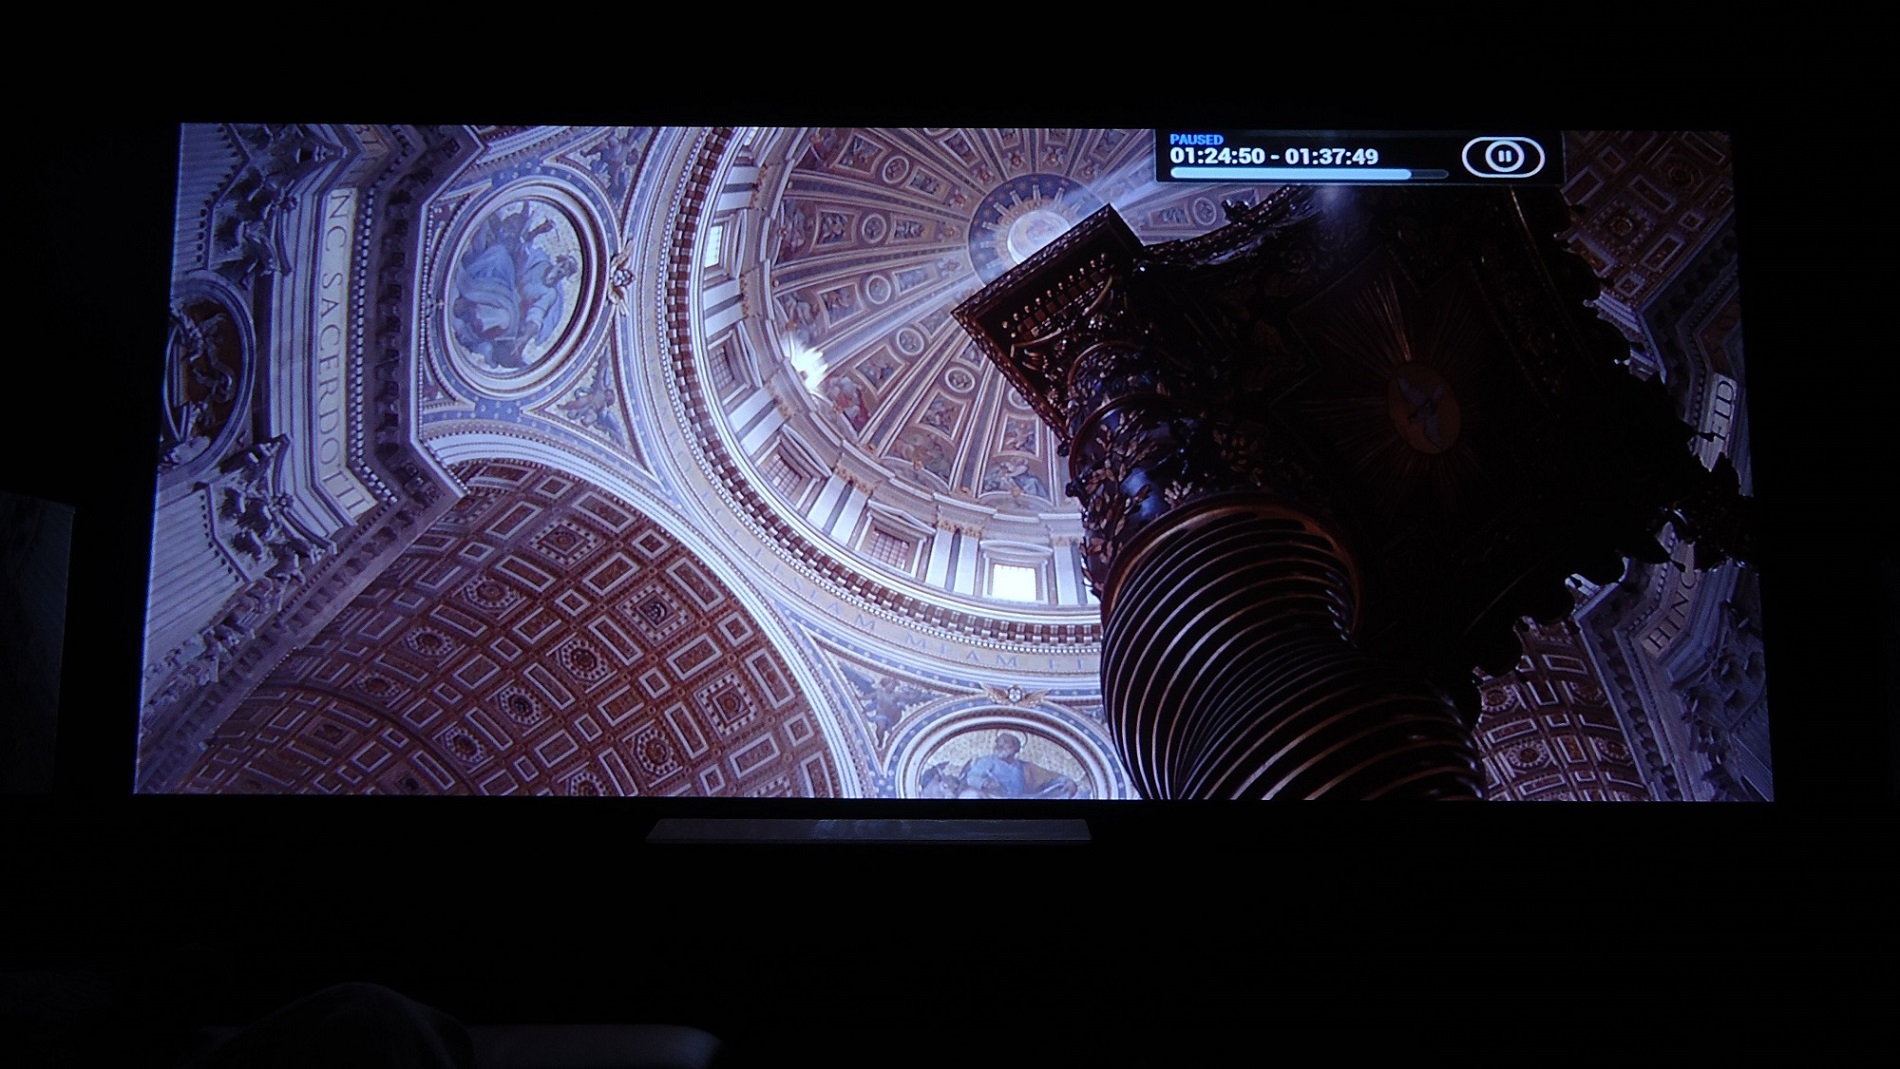
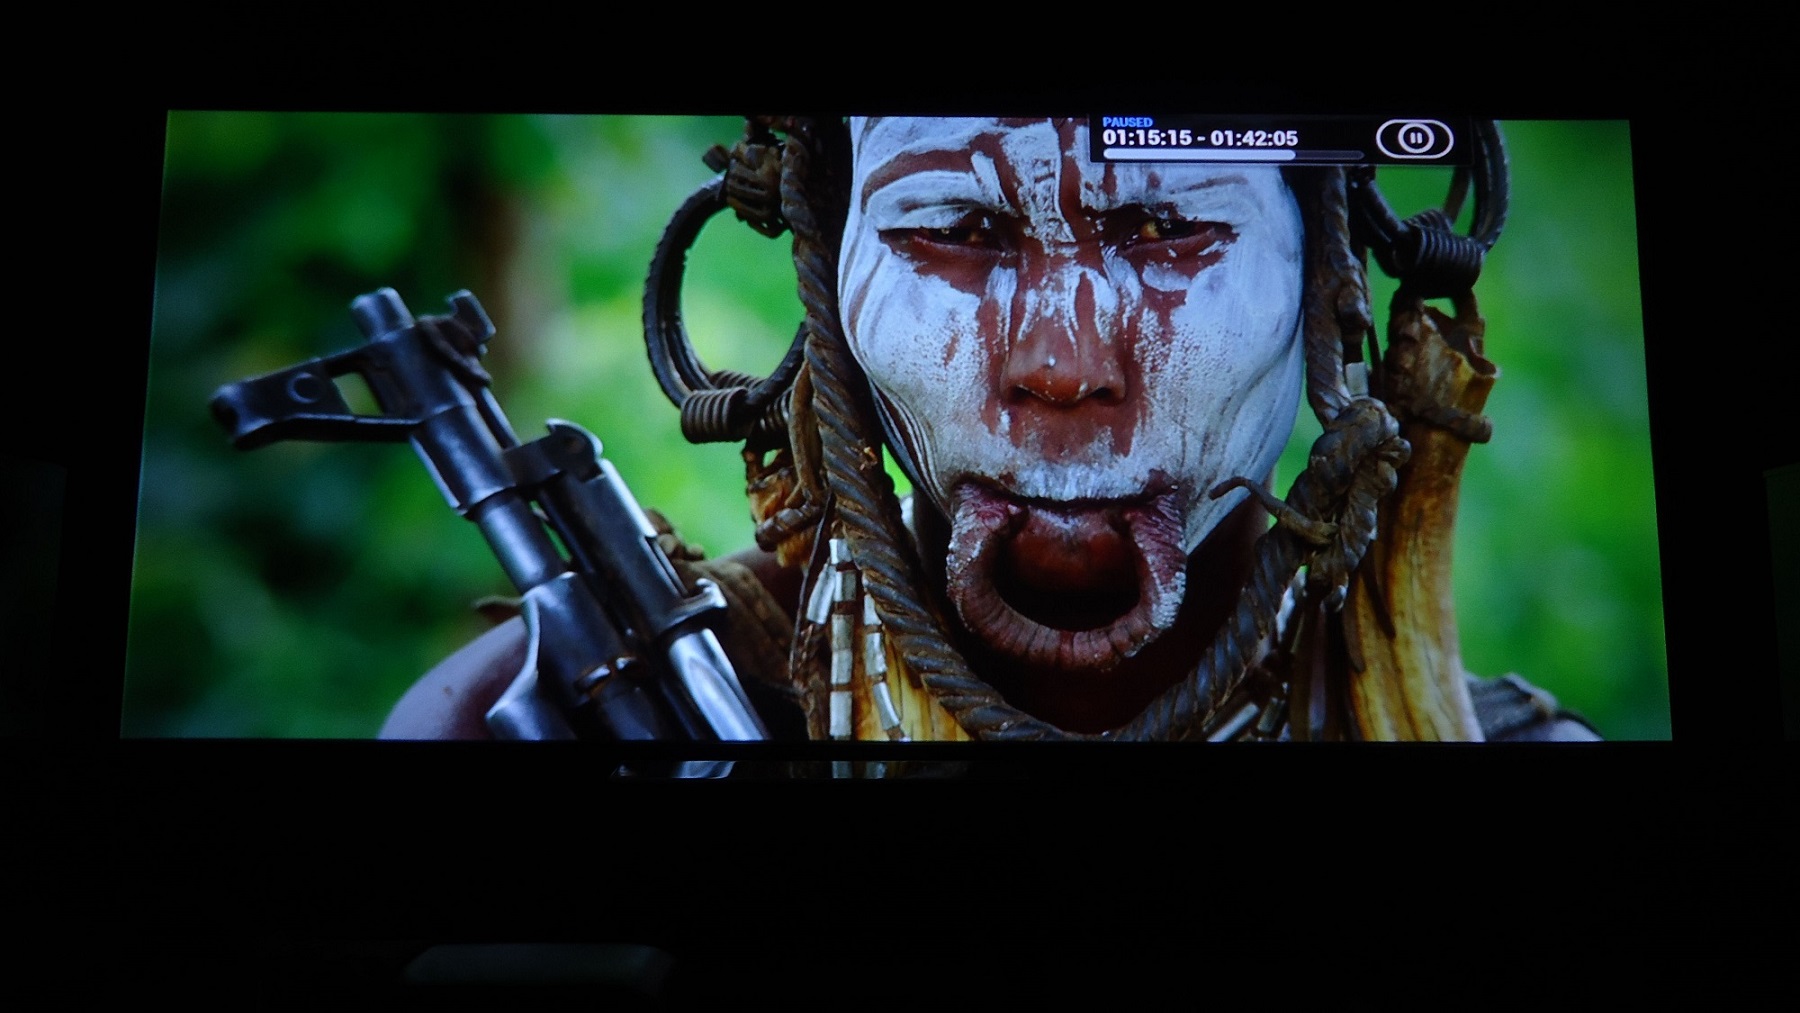
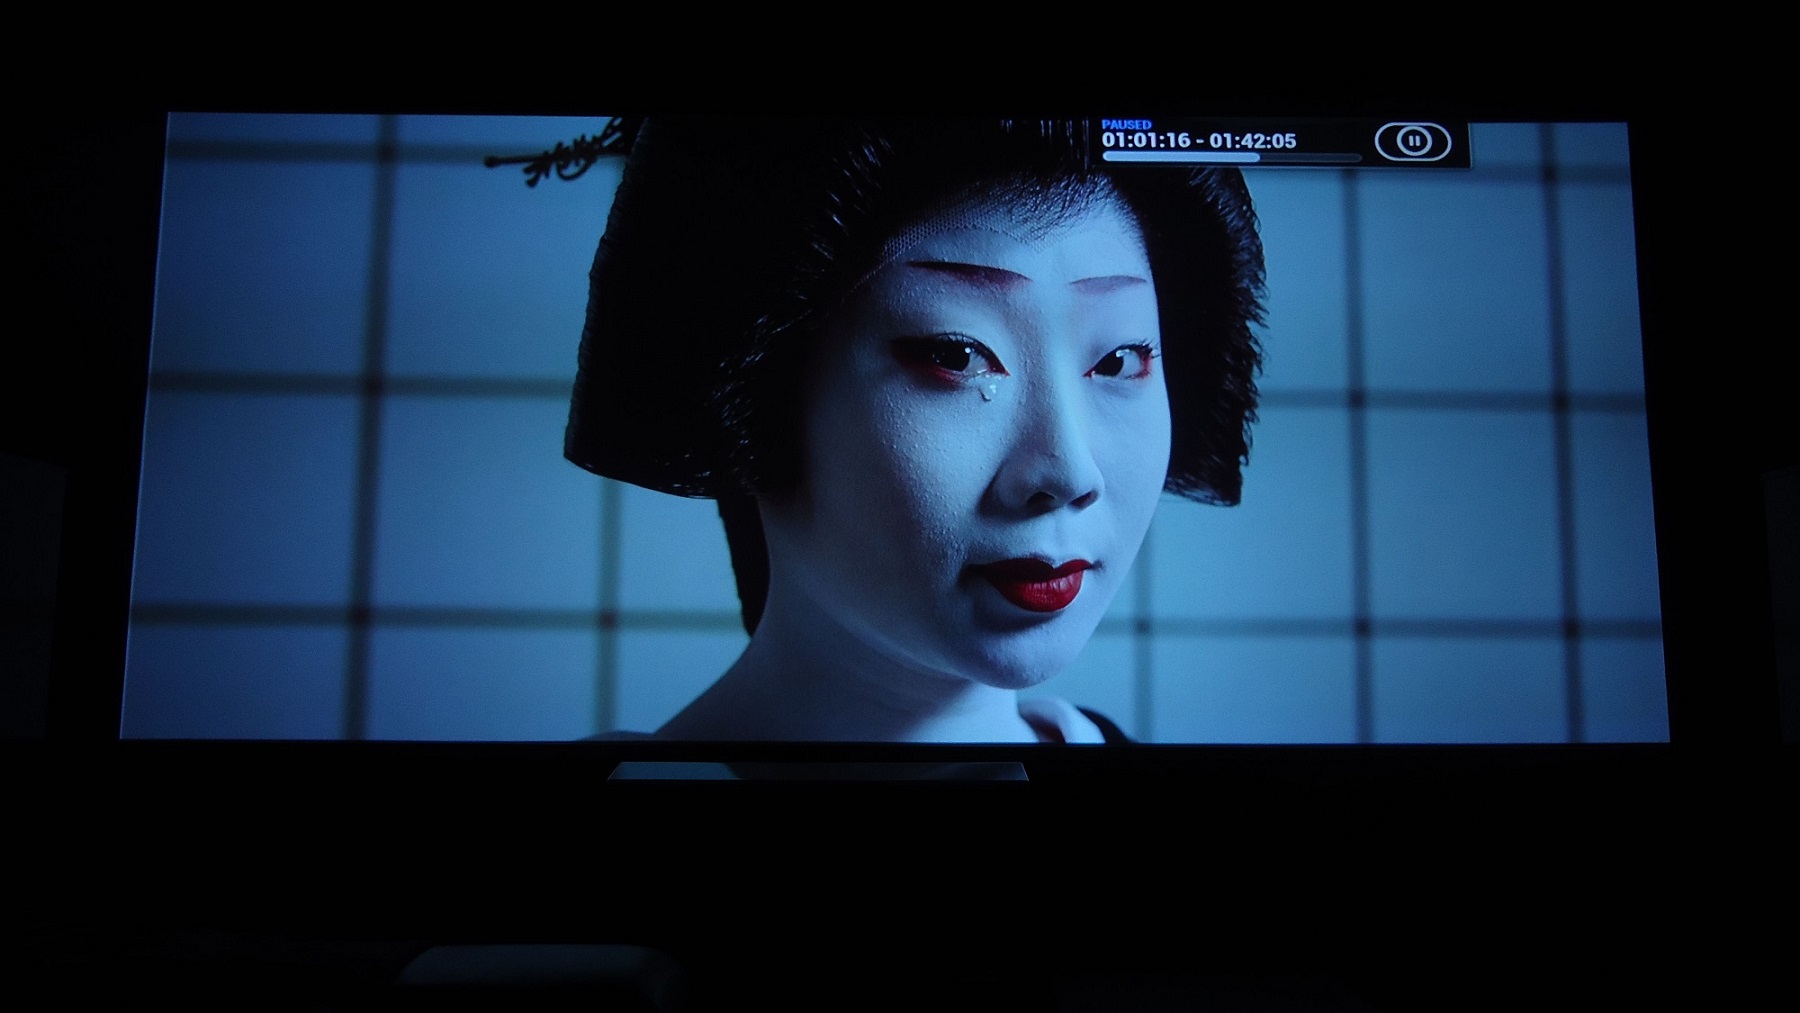
Definitely the need for a tripod with this camera, luckily I had one.
| Description: |
|
| Filesize: |
267.04 KB |
| Viewed: |
7189 Time(s) |

|
| Description: |
|
| Filesize: |
211.86 KB |
| Viewed: |
7189 Time(s) |

|
| Description: |
|
| Filesize: |
263.65 KB |
| Viewed: |
7189 Time(s) |
|
| Description: |
|
| Filesize: |
201.74 KB |
| Viewed: |
7189 Time(s) |
|
| Description: |
|
| Filesize: |
285.32 KB |
| Viewed: |
7189 Time(s) |
|
| Description: |
|
| Filesize: |
267.68 KB |
| Viewed: |
7189 Time(s) |
|
| Description: |
|
| Filesize: |
219.58 KB |
| Viewed: |
7189 Time(s) |
|
| Description: |
|
| Filesize: |
234.01 KB |
| Viewed: |
7189 Time(s) |
|
| Description: |
|
| Filesize: |
251.4 KB |
| Viewed: |
7189 Time(s) |
|
| Description: |
|
| Filesize: |
287.61 KB |
| Viewed: |
7189 Time(s) |
|
Last edited by thewolfman on Thu Feb 05, 2015 5:10 am; edited 2 times in total
|
|
| Back to top |
|
|
jbmeyer13
Joined: 03 Dec 2010
Posts: 1135
|
| Posted: Thu Jan 22, 2015 4:01 pm Post subject: |
|
|
Wrapping a PJ case would certainly be cheaper than painting it but wrapping around the top vent is going to be a nightmare. Hope you have a good plan for that.
_________________
Projector: Modded 9501LC ULtra- MP VIM, Vold VNB, ETECH LVPS, Silver VIM Cables, HD10F's & a V1 case!
|
|
| Back to top |
|
|
thewolfman
Joined: 28 Mar 2011
Posts: 1311
Location: Sweden
|
| Posted: Thu Jan 22, 2015 4:29 pm Post subject: |
|
|
|
I know exactly what you are talking about, but a little less stretching and sort off fold it in there might do the trick.
|
|
| Back to top |
|
|
thewolfman
Joined: 28 Mar 2011
Posts: 1311
Location: Sweden
|
| Posted: Sun Feb 01, 2015 2:33 am Post subject: |
|
|
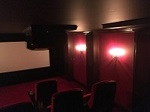
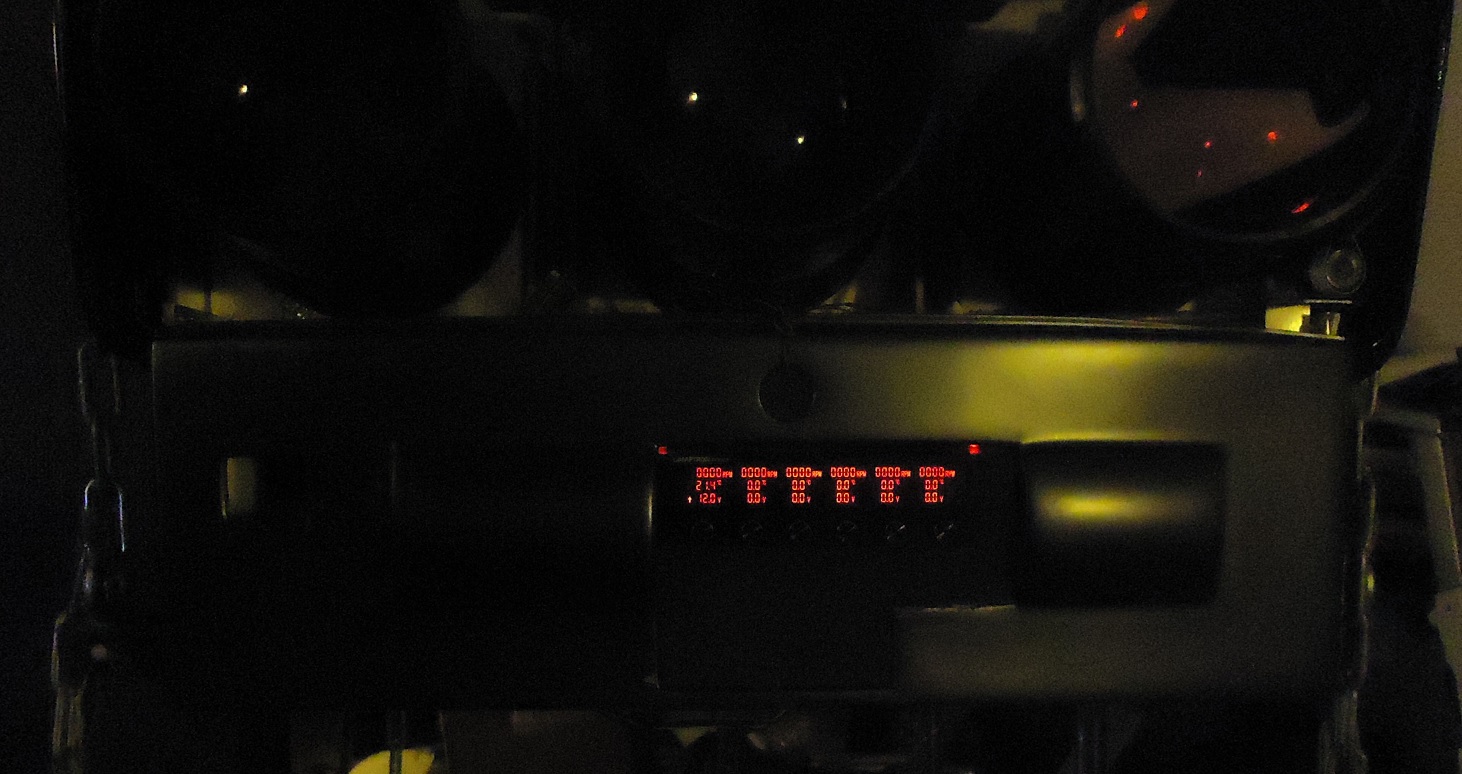
I got excited about getting into the fan mods again, and so installed the fan controller tonight.. and must say, it looks sick seeing that in the dark! Just like I imagined it. And I will definitely go for the M3 Black satin vinyl wrap with this and think it will look insane with that combo.
It draws power from the PC, and prefer it that way as the chassis don't have room for it anyway, it's full with just the CD-player on it. It will always be on, once the PC fans are hooked up to, but the once on the projector can be switched off and just leave the PC fans running.
It has 3 different alarms to watch over me, if it came to that, but for now turned off.
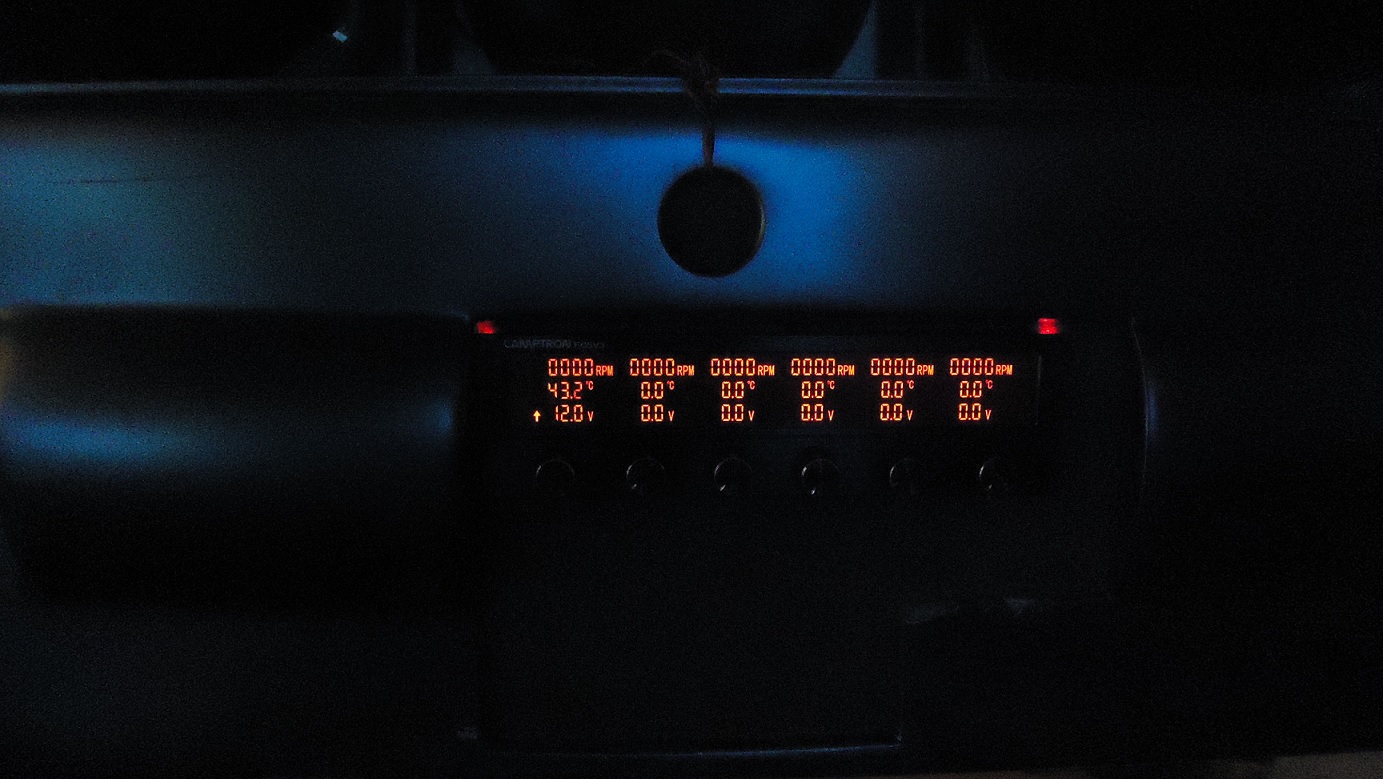
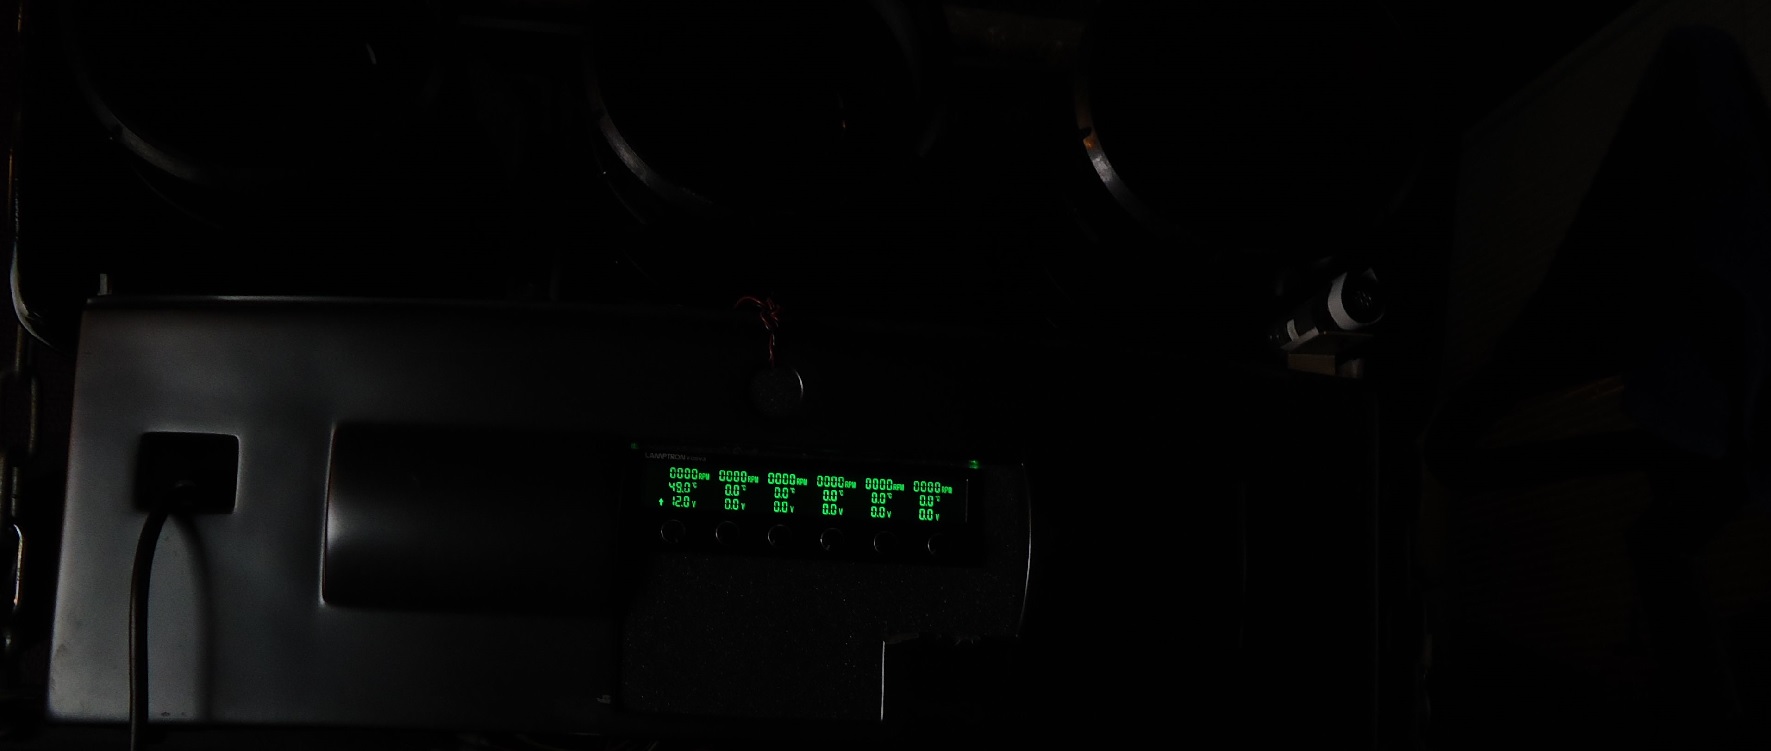
Even took some measurements while warming up the projector, on the HDM, where I put the first temperature probe, and it's interesting to see how fast they warm in just 1 minute. With the probe attached directly onto the large heatsink the working temp come to be about 43 degrees after 10 minutes of use.
But looking at it now; I see that it has risen to about 45-46 degrees and coincidently the blue starts to arch. It even arcs with it on mute and saw it first hand how it flashed in the dark. I turned it of then but think it could use some more cooling..
Although, now with everything put back on, 12 volts with the Cougars are not that loud after all, with it bare naked, it sounds more loud I guess.. so that leaves me with the conclusion; that padding it down, with half inch padding all over the inner aluminium covers, and the side panels, should make very silent indeed. An easy one to do also.
21,6 degrees cold
28,7 degrees - 1 minute
31,4 degrees - 2 minutes
34,2 degrees - 3 minutes
35,6 degrees - 4 minutes
37,7 degrees - 5 minutes
38,1 degrees . 6 minutes
40,4 degrees - 7 minutes
41,1 degrees - 8 minutes
41,6 degrees - 9 minutes
41,6 degrees - 10 minutes
About 43 degrees for the first hour and then about 45-46 degrees after 70 minutes and then arching after like another hour of use. Strange.
I will of course remove the open gap at the front, that foam template is just temporarily. I'll Dremel out the bulging area on the right and move it closer to the left, to make it dead centred. Crazy glue and some Plastic padding should do it.
EDIT: Working temp. is actually 51-52 degrees with watching movie content. Previous reading was from stationary images like this site for instance. I had it cool down to room temp and then set off to watch Predator right after and within minutes it was 51 degrees, still is.
| Description: |
|
| Filesize: |
234.14 KB |
| Viewed: |
7299 Time(s) |
|
| Description: |
|
| Filesize: |
357.69 KB |
| Viewed: |
7306 Time(s) |

|
| Description: |
|
| Filesize: |
322.78 KB |
| Viewed: |
7306 Time(s) |
|
| Description: |
|
| Filesize: |
473 KB |
| Viewed: |
7306 Time(s) |
|
| Description: |
|
| Filesize: |
490.13 KB |
| Viewed: |
7306 Time(s) |
|
| Description: |
|
| Filesize: |
246.59 KB |
| Viewed: |
7306 Time(s) |
|
| Description: |
|
| Filesize: |
299.17 KB |
| Viewed: |
7306 Time(s) |
|
| Description: |
|
| Filesize: |
164.32 KB |
| Viewed: |
7306 Time(s) |
|
| Description: |
|
| Filesize: |
309.8 KB |
| Viewed: |
7306 Time(s) |
|
|
|
| Back to top |
|
|
redfox001
Joined: 16 Mar 2009
Posts: 2257
Location: The Netherlands
|
| Posted: Mon Feb 02, 2015 11:15 pm Post subject: |
|
|
He nice! What temp sensor did you use? And what fancontroller?
_________________
701s->runco933->8500ultra->cinemax->9500mp->919 splitpack + cinemax
|
|
| Back to top |
|
|
thewolfman
Joined: 28 Mar 2011
Posts: 1311
Location: Sweden
|
| Posted: Mon Feb 02, 2015 11:27 pm Post subject: |
|
|
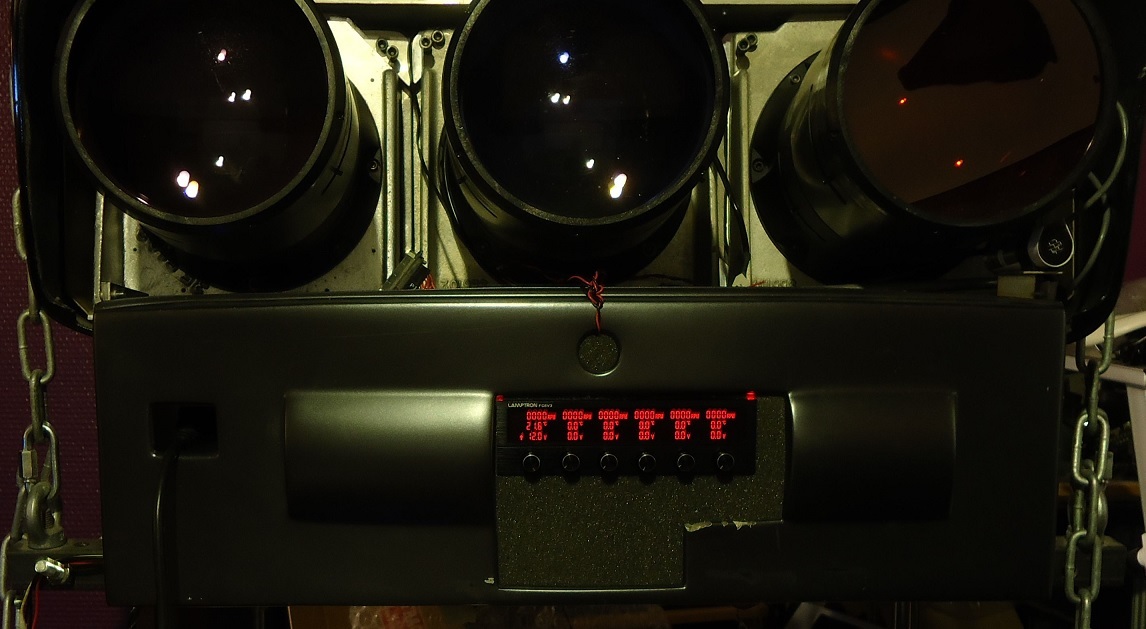
It's a Lamptron fc5 v3 and the temp probe that came with it. 6 of them and reaches perfectly to the HDM and bell house and FGM. I haven't figured out how to set the alarm yet.. as it always on when activate it.
| Description: |
|
| Filesize: |
97.18 KB |
| Viewed: |
7243 Time(s) |
|
|
|
| Back to top |
|
|
stridsvognen
Guest
|
| Posted: Mon Feb 02, 2015 11:51 pm Post subject: |
|
|
|
Why dont you use the 2008 HDM.. it seems your using a old HDM from before the ULTRA days.
|
|
| Back to top |
|
|
thewolfman
Joined: 28 Mar 2011
Posts: 1311
Location: Sweden
|
| Posted: Tue Feb 03, 2015 12:04 am Post subject: |
|
|
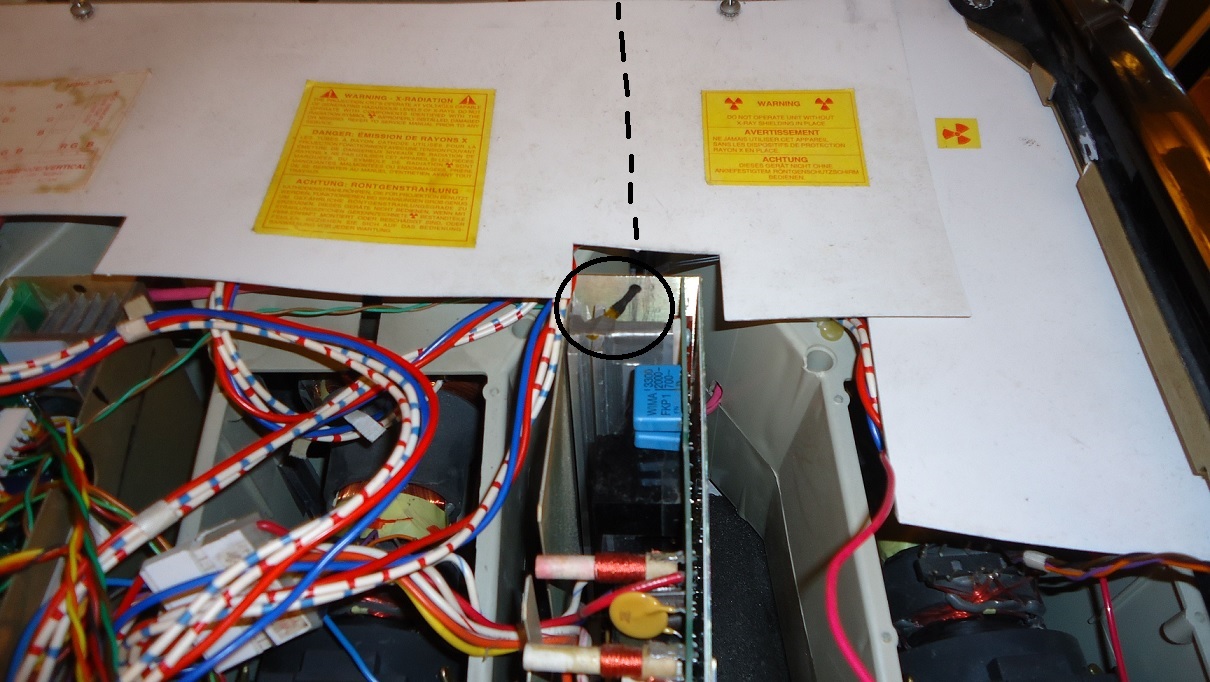
I do use Ultra HDM now.. but for a while there I did use a really old 8500 HDM because I didn't wan to destroy the only last working Ultra hdm that I had thinking it could be damaged from other parts being half broken.
| Description: |
|
| Filesize: |
403.14 KB |
| Viewed: |
7203 Time(s) |
|
| Description: |
|
| Filesize: |
306.93 KB |
| Viewed: |
7203 Time(s) |

|
| Description: |
|
| Filesize: |
227.19 KB |
| Viewed: |
7203 Time(s) |
|
| Description: |
|
| Filesize: |
337.21 KB |
| Viewed: |
7203 Time(s) |
|
| Description: |
|
| Filesize: |
260.62 KB |
| Viewed: |
7203 Time(s) |
|
| Description: |
|
| Filesize: |
284.4 KB |
| Viewed: |
7203 Time(s) |
|
| Description: |
|
| Filesize: |
222.42 KB |
| Viewed: |
7203 Time(s) |

|
| Description: |
|
| Filesize: |
369.01 KB |
| Viewed: |
7203 Time(s) |
|
| Description: |
|
| Filesize: |
284.55 KB |
| Viewed: |
7203 Time(s) |
|
| Description: |
|
| Filesize: |
344.9 KB |
| Viewed: |
7203 Time(s) |
|
|
|
| Back to top |
|
|
thewolfman
Joined: 28 Mar 2011
Posts: 1311
Location: Sweden
|
| Posted: Wed Feb 11, 2015 7:29 pm Post subject: |
|
|
I had a major breakthrough earlier today, when trying to figure out why my image is blurry on the left side, so I did the ordeal with setting things up with Long retrace - and voila - everything fell into place! It has never been this sharp before and the reason I went short retrace some 18 months ago was because I got this horrible ghost pattern on the tube-face.. now with the new boards that is gone.
Not only that, it now runs cooler to, before the HDM fluctuated between 50-52 degrees and now it's only 42-44 degrees.
Contrast went down from 60 to 54 but left brightness @ 12.
In order to bring in the corners and edges to full sharpness, I had to go past 50 on master focus by 5-6 clicks. Or 52 if you like. Now I get full sharpness at only 3 clicks past 50. Doing this takes away the same amount sharpness in the center of course, but seeing its only 3 clicks away now it's not a concern anymore.
And with green looking like sh*t, and a bit triangular in shape at the moment, and blue looking like sh*t as well, from bad magnet set up, I feel I can get that down to zero clicks with better set magnets.
I got such good results I brought it back into the ringing zone again - and yet there was none. So now that the focus issue has been resolved I'm working on getting rid of the tearing of the image. Still there with new random figures and think I might need some help on this one and will post pix with current settings to sort that out. I can live with it for now though.
As for the boards, those are stock and should not be confused with modded once, so there's another level of improvement to be made.
|
|
| Back to top |
|
|
|
|
|
|
|
You cannot post new topics in this forum
You cannot reply to topics in this forum
You cannot edit your posts in this forum
You cannot delete your posts in this forum
You cannot vote in polls in this forum
You cannot attach files in this forum
You can download files in this forum
|
Forum powered by phpBB © phpBB Group
|
|


