| Author |
Message |
redfox001

Joined: 16 Mar 2009
Posts: 2257
Location: The Netherlands
|
| Posted: Sat Jul 12, 2014 8:37 am Post subject: |
|
|
I went back to 50 yesterday because after long thinking about what I changed to get the black noise bars I remembered that my focus used to be on 50. There is a weired problem with focus brightness and contrast in my machine. Yesterday it was extremely difficult to get the 2 pole right because I can hardly undercocus with contrast a little higher. A big black bar appears and than the whole screen turns white when I underfocus more.
But I got some practise. At least now when I look at a grid going from max underfocus to max overfocus nothing moves anymore. Still I am not certain about the underfocus part. Will try again later. I now understand the comments you guys made earlier better about seeking where the horizontal line becomes smallest and where the vertical becomes smallest.
But to keep the focus at 50 might unstress the electronics but I am not certain about that too.
The good part is that when I stay within the limits everything looks great 
|
|
| Back to top |
|
 |
Francisco

Joined: 05 Apr 2007
Posts: 305
Location: The Netherlands
|
| Posted: Sat Jul 12, 2014 9:50 am Post subject: |
|
|
Is this black bar horizontal or vertical? Make sure you got 17,3v right on 32khz internal pattern and B50 C50. Also check if your max horizontal is set right. P700 on SMPS I believe.
When I do focus coils, I do it how it is explained elec. Focus on 58 and move them for optimum focus. Make sure your optics are already center focused correctly. Later on when you dial in astig (2 and 4 pole) both mechanic and electronic so 6 pole for some regions. You'll have to redo elec. Focus and for example red will be overal focus 50 green 61 and blue 55 which you"ll later have to defocus for optimal grayscale
_________________
Philips vacuum cleaner | Trystar double toaster | Car radio with orange plastic memory arrows | Class A Fridge
|
|
| Back to top |
|
|
redfox001
Joined: 16 Mar 2009
Posts: 2257
Location: The Netherlands
|
| Posted: Sat Jul 12, 2014 10:56 am Post subject: |
|
|
|
Horizontal. Yes I have to check that voltage before anything else! Thanks.
|
|
| Back to top |
|
|
redfox001
Joined: 16 Mar 2009
Posts: 2257
Location: The Netherlands
|
| Posted: Sat Jul 12, 2014 12:15 pm Post subject: |
|
|
| Francisco wrote: | Is this black bar horizontal or vertical? Make sure you got 17,3v right on 32khz internal pattern and B50 C50. Also check if your max horizontal is set right. P700 on SMPS I believe.
When I do focus coils, I do it how it is explained elec. Focus on 58 and move them for optimum focus. Make sure your optics are already center focused correctly. Later on when you dial in astig (2 and 4 pole) both mechanic and electronic so 6 pole for some regions. You'll have to redo elec. Focus and for example red will be overal focus 50 green 61 and blue 55 which you"ll later have to defocus for optimal grayscale |
Ok I adjusted P1 to 17,3 V at 31,5kHz internal and guess what problem solved!!!!!!
You are briljant!!!!
|
|
| Back to top |
|
|
Francisco
Joined: 05 Apr 2007
Posts: 305
Location: The Netherlands
|
| Posted: Sat Jul 12, 2014 12:38 pm Post subject: |
|
|
have been there... done that... 
_________________
Philips vacuum cleaner | Trystar double toaster | Car radio with orange plastic memory arrows | Class A Fridge
|
|
| Back to top |
|
|
redfox001
Joined: 16 Mar 2009
Posts: 2257
Location: The Netherlands
|
| Posted: Sat Jul 12, 2014 1:06 pm Post subject: |
|
|
Ok I wanted to check the HTHD but where is J200?
Found J200 hope pin 1 is the closest. I don't know if I have the guts to measure that one...
Solder a wire to it?
| Quote: |
Adjust potentiometer P700 for +69V for HTHD (for example pin 1 of J200), this
voltage corresponds normaly to a "full raster" image.
|
|
|
| Back to top |
|
|
redfox001
Joined: 16 Mar 2009
Posts: 2257
Location: The Netherlands
|
| Posted: Mon Jul 14, 2014 7:53 pm Post subject: |
|
|
|
Anyone having the same problem the streaking is also gone now. Readjusting the 17,3 V seems to have solved all issues. Picture is absolutely stunning Thanks all!
|
|
| Back to top |
|
|
CasetheCorvetteman

Joined: 09 Nov 2008
Posts: 6326
Location: Australia
|
| Posted: Tue Jul 15, 2014 2:20 am Post subject: |
|
|
Have you got a pic of what you adjusted? I have all the info but its on the computer at home.
_________________
Barco Cine 9, ,Sony VPL570ES 4K SXRD, 135" OZ Theatre Majestic 16:9 screen, Denon X6700in preamp mode, 2x 7ch Tonewinner amps, 2x Tonewinner 15" subs, 2x 10" subs, 7.2.6...
RUNCO DTV991 LC ( NEC XG 852 LC ) 100" 4:3 screen, H/K AVR 7.1...
|
|
| Back to top |
|
|
redfox001
Joined: 16 Mar 2009
Posts: 2257
Location: The Netherlands
|
| Posted: Tue Jul 15, 2014 8:22 am Post subject: |
|
|
Here is a pic and description. You need P1 and J36.
I also adjusted the horizontal width by making it a few milimeter from the edge at 85 H size. And you will not believe this and it might be the 17,3 V but the Max seemed more silent after. The Fans spin at a lower speed despite the temperature and I did not hear the horizontal kick in during a complete movie. That used to be every hour or so.
Click
http://i61.tinypic.com/161xkwp.png
Last edited by redfox001 on Mon Sep 08, 2014 9:46 pm; edited 3 times in total
|
|
| Back to top |
|
|
redfox001
Joined: 16 Mar 2009
Posts: 2257
Location: The Netherlands
|
| Posted: Tue Jul 15, 2014 11:25 pm Post subject: |
|
|
Ok this is fantastic. Just saw Noah wow what a picture. One small thing with the VGA solution and the contrast at 63 I have now 11 FTL. So the moome solution is much lower in contrast too. Now I wonder what 72 Hz might bring in motion. Will motion be smoother than with 60 Hz?
Still have a lot of edge work to do on astig and zone focus.
|
|
| Back to top |
|
|
CasetheCorvetteman
Joined: 09 Nov 2008
Posts: 6326
Location: Australia
|
| Posted: Wed Jul 16, 2014 2:38 am Post subject: |
|
|
Yeah mate 72Hz will be smoother but the machine will be louder.
_________________
Barco Cine 9, ,Sony VPL570ES 4K SXRD, 135" OZ Theatre Majestic 16:9 screen, Denon X6700in preamp mode, 2x 7ch Tonewinner amps, 2x Tonewinner 15" subs, 2x 10" subs, 7.2.6...
RUNCO DTV991 LC ( NEC XG 852 LC ) 100" 4:3 screen, H/K AVR 7.1...
|
|
| Back to top |
|
|
redfox001
Joined: 16 Mar 2009
Posts: 2257
Location: The Netherlands
|
| Posted: Sat Sep 06, 2014 8:10 am Post subject: |
|
|
I have another setup question that I stumbled upon yesterday.
I always had this little banding or shadow on the left side of the picture. Now I was reading something on clamping in restoration mode and it was sort of difficult to understand but the manual said the install technician should chose between normal or restoration clamping.
So I tried the restoration clamping and it looks better on the left. A very little banding to the very outer left still there.
As I understand standard clamping is to restore the black level on the image after clamping it off but this is done just after the sync puls. So the manual says you need a large back porche for it. I am going to play with the back porche now but I wanted to share this and ask if there is some practical experience with timings and clamping and banding?
| Quote: |
However the choice between standard or restoration mode and choice of the width of the pulse is always a task of the service engineer ,responsible for the installation !
Indeed, the clamping method can be installed per memory block or per source.
|
Last edited by redfox001 on Sat Sep 06, 2014 8:44 am; edited 1 time in total
|
|
| Back to top |
|
|
redfox001
Joined: 16 Mar 2009
Posts: 2257
Location: The Netherlands
|
| Posted: Sat Sep 06, 2014 8:31 am Post subject: |
|
|
Found this information in the manual:
Normal
For all standard sources and all sources with a backporch > 0.8 μs or for sources with noise and spikes in the signal.
Restoration
For standard sources with a backporch between 0.4 μs and 0.8 μs or for sources with sync separate or sync on green.
Because sync is separate we need Restoration?
|
|
| Back to top |
|
|
redfox001
Joined: 16 Mar 2009
Posts: 2257
Location: The Netherlands
|
| Posted: Sat Sep 06, 2014 9:28 am Post subject: |
|
|
Another setup tip to share. I found this information on the 808.
| Quote: |
Go into the geometry menu and set the H width to 50%. Put up the test grid (genlocked test pattern) and set this trimpot so that the test pattern _just_ overshoots the sides of the tubes. The regular video image should then fall within the phosphor area of the tubes, and have good width. Note that setting this pot too high or too low may trigger a scan fail condition on the G2 board, and cause the set to shut down the HV section.
|
I one time also had scan fail conditions at startup now and than that seem to have disappeared after careful adjusting the p700 potmeter.
I did it like said in the service manual by measuring the voltage. I had to solder a small wire to the board.
Guess if you get these scanfails check the p700
|
|
| Back to top |
|
|
redfox001
Joined: 16 Mar 2009
Posts: 2257
Location: The Netherlands
|
| Posted: Sun Sep 07, 2014 10:11 pm Post subject: |
|
|
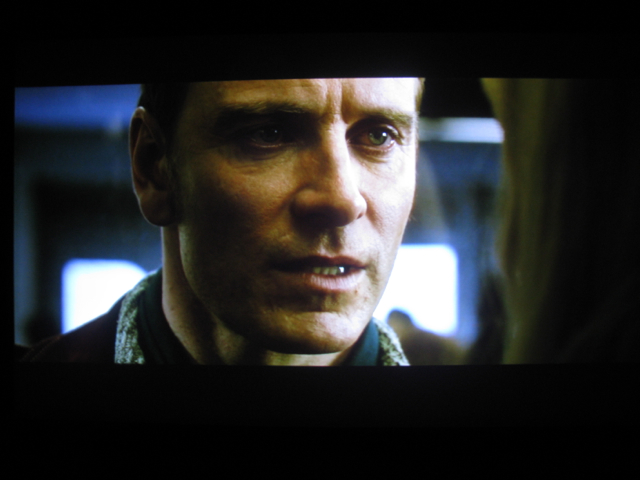
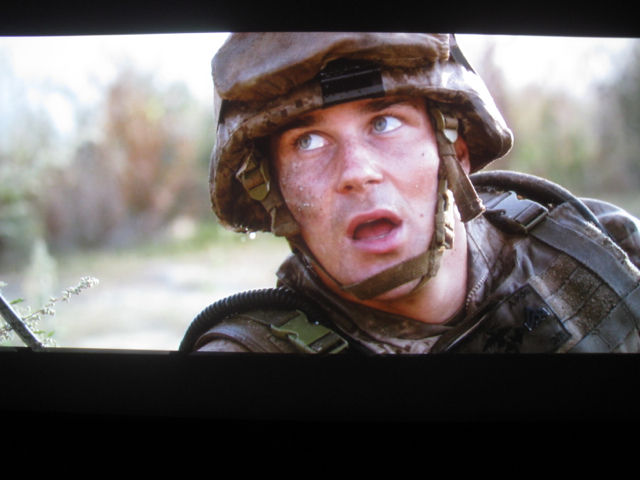
Few screenshots. Have to get the camera better fixed.
| Description: |
|
| Filesize: |
204.29 KB |
| Viewed: |
7203 Time(s) |
|
| Description: |
|
| Filesize: |
215.48 KB |
| Viewed: |
7226 Time(s) |

|
| Description: |
|
| Filesize: |
241.62 KB |
| Viewed: |
7226 Time(s) |
|
|
|
| Back to top |
|
|
redfox001
Joined: 16 Mar 2009
Posts: 2257
Location: The Netherlands
|
| Posted: Mon Sep 08, 2014 8:45 pm Post subject: |
|
|
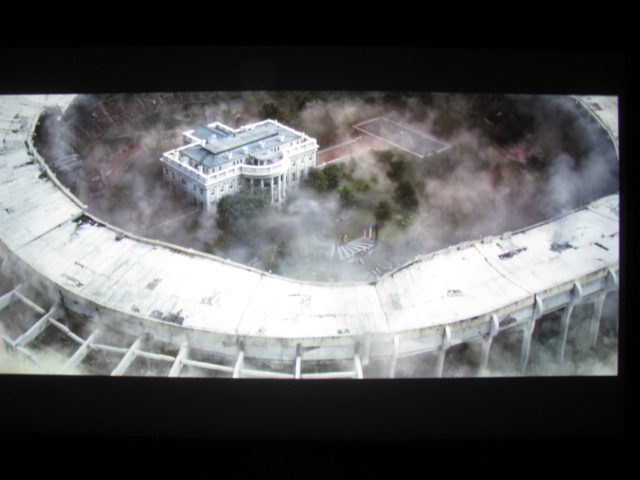
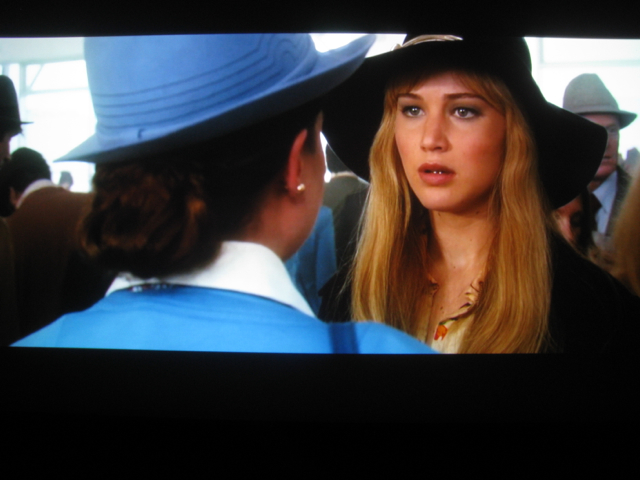
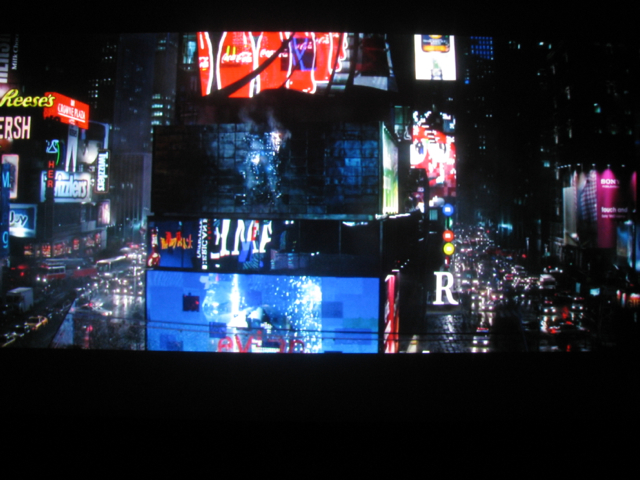
Some more.
| Description: |
|
| Filesize: |
240.84 KB |
| Viewed: |
7168 Time(s) |
|
| Description: |
|
| Filesize: |
217.08 KB |
| Viewed: |
7170 Time(s) |

|
| Description: |
| http://oi60.tinypic.com/206he9v.jpg |
|
| Filesize: |
200.9 KB |
| Viewed: |
7170 Time(s) |
|
| Description: |
|
| Filesize: |
268.19 KB |
| Viewed: |
7170 Time(s) |
|
Last edited by redfox001 on Mon Sep 08, 2014 9:33 pm; edited 2 times in total
|
|
| Back to top |
|
|
redfox001
Joined: 16 Mar 2009
Posts: 2257
Location: The Netherlands
|
| Posted: Mon Sep 08, 2014 8:51 pm Post subject: |
|
|
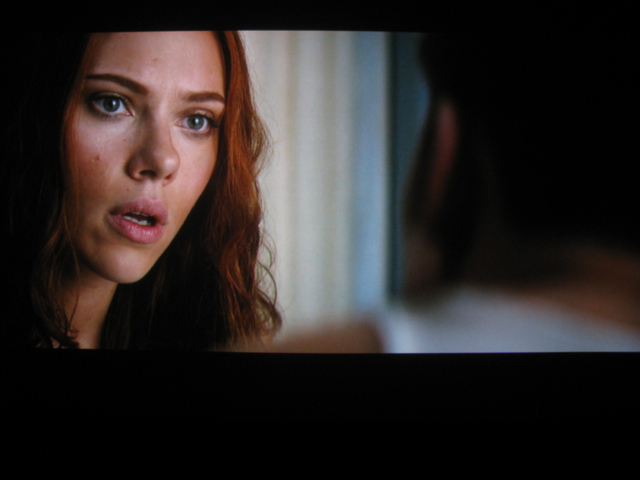
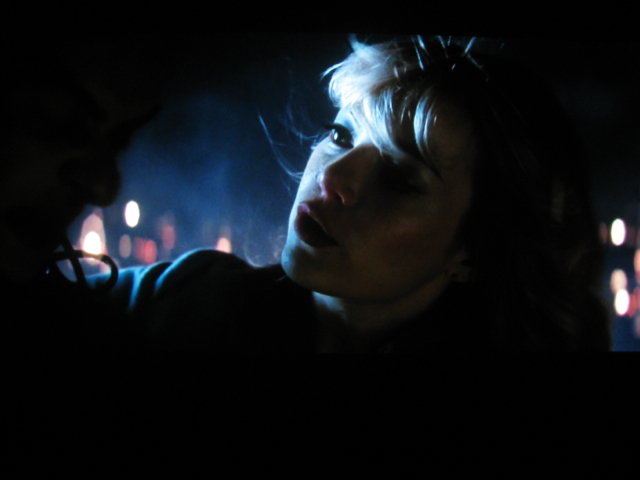
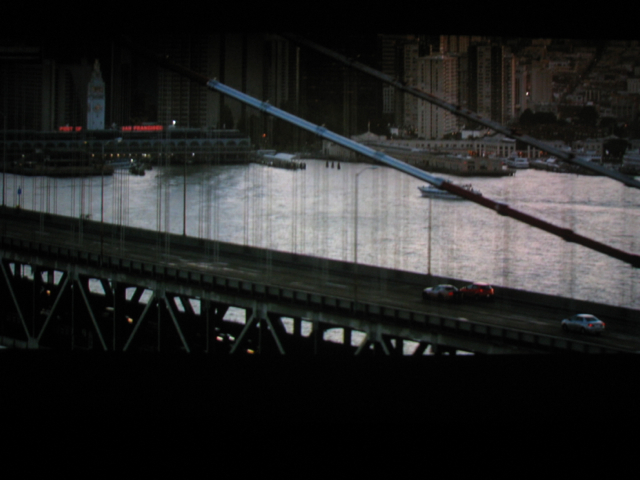
Dark.
| Description: |
|
| Filesize: |
309.14 KB |
| Viewed: |
7169 Time(s) |
|
| Description: |
|
| Filesize: |
168.97 KB |
| Viewed: |
7169 Time(s) |
|
| Description: |
|
| Filesize: |
232.33 KB |
| Viewed: |
7169 Time(s) |
|
|
|
| Back to top |
|
|
redfox001
Joined: 16 Mar 2009
Posts: 2257
Location: The Netherlands
|
| Posted: Mon Sep 08, 2014 8:58 pm Post subject: |
|
|
|
Hope you see why I am so happy with this CRT
|
|
| Back to top |
|
|
redfox001
Joined: 16 Mar 2009
Posts: 2257
Location: The Netherlands
|
|
| Back to top |
|
|
CasetheCorvetteman
Joined: 09 Nov 2008
Posts: 6326
Location: Australia
|
| Posted: Tue Sep 09, 2014 8:33 am Post subject: |
|
|
Looks good mate
_________________
Barco Cine 9, ,Sony VPL570ES 4K SXRD, 135" OZ Theatre Majestic 16:9 screen, Denon X6700in preamp mode, 2x 7ch Tonewinner amps, 2x Tonewinner 15" subs, 2x 10" subs, 7.2.6...
RUNCO DTV991 LC ( NEC XG 852 LC ) 100" 4:3 screen, H/K AVR 7.1...
|
|
| Back to top |
|
|
|
|


